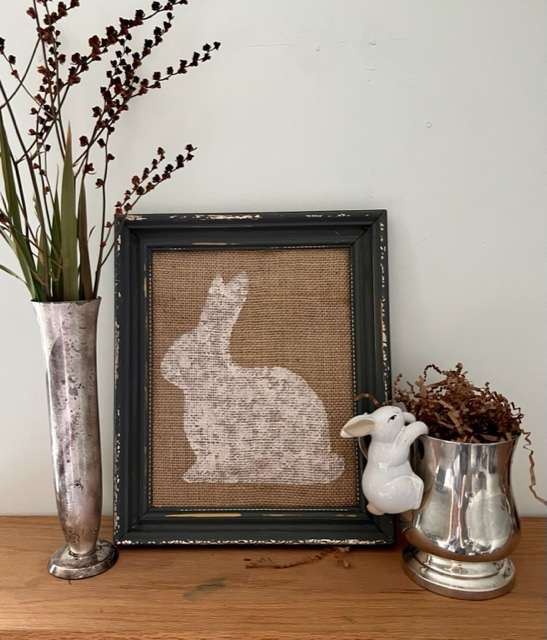
Looking for a simple art project for Spring? This farmhouse bunny is a fun project and it is pretty easy to do.
How to Make Farmhouse Bunny Art
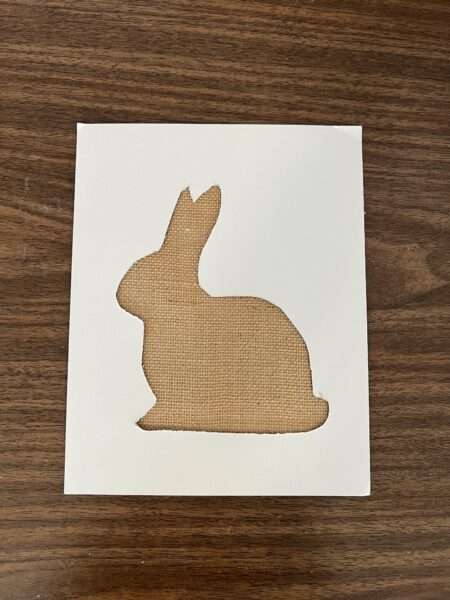
1. Download the bunny template here and print on heavier paper.
2. Cut out the bunny and make sure the size is good for your frame. Trace the punny pattern onto cardstock and cut out with an exacto knife.
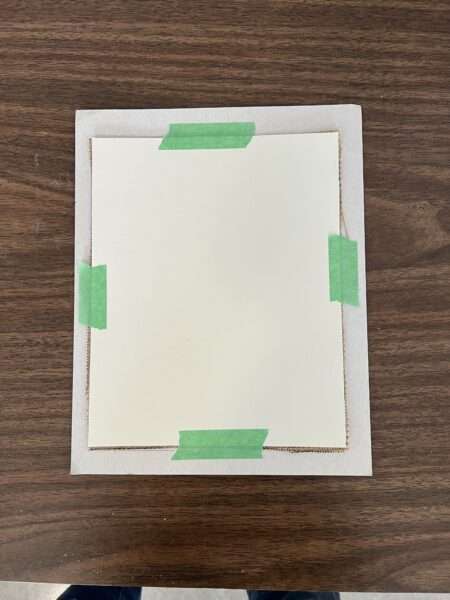
3. Cut a piece of burlap 8×10 (or the sized that will fit into your frame). Cut a piece of cardboard the same size. Tape the stencil to the burlap with the cardboard underneath.. If you hold it up to a window you can make sure it is centered properly.
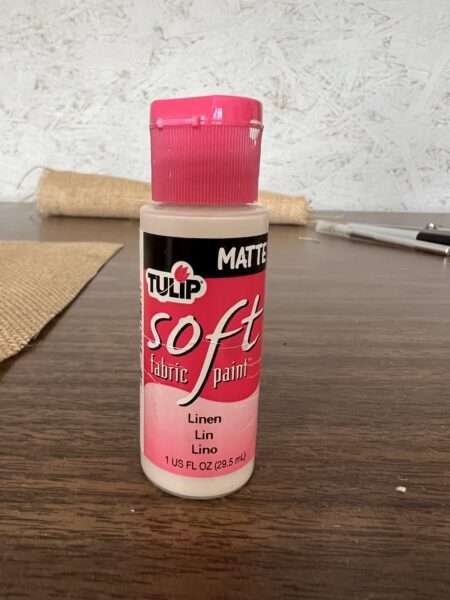
4. Squeeze some paint onto a tray (yogurt lids work well!) Dab your brush onto the paint and start stencilling. The key with stencilling is to not have too much paint on your brush, and to use the flat end up and down. Keep adding more paint until you have the look that you want.
5. Carefully remove the stencil and let the paint dry several hours. I used some tacky glue around the outside edges on the back of the burlap to adhere it to the cardboard. I then inserted them onto the back of the frame.

Find more decorating articles!
Leave a comment if you try this craft idea or something similar!
I hope you enjoyed this tutorial – Follow me on Instagram for videos of my tutorials – go to my profile page, and click on the Tutorials button.
Link for Instagram is the red icon below.


