


I have an easy, inexpensive and fun tutorial for you all today! I’m going to show you how to create a screen printed shirt using a different method. The supplies are inexpensive and will work for many many projects, not just one. It does require an iron and x-acto knife so it may not be safe for children to do.
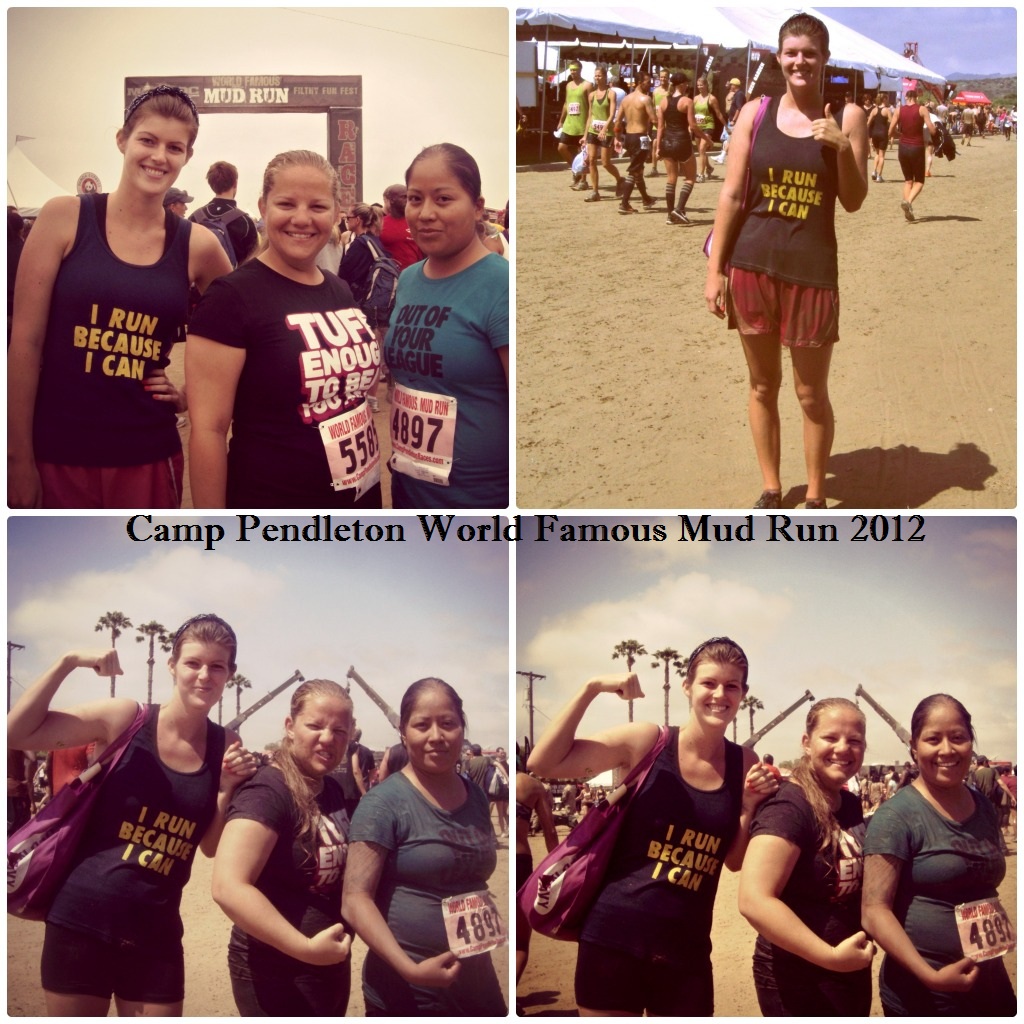
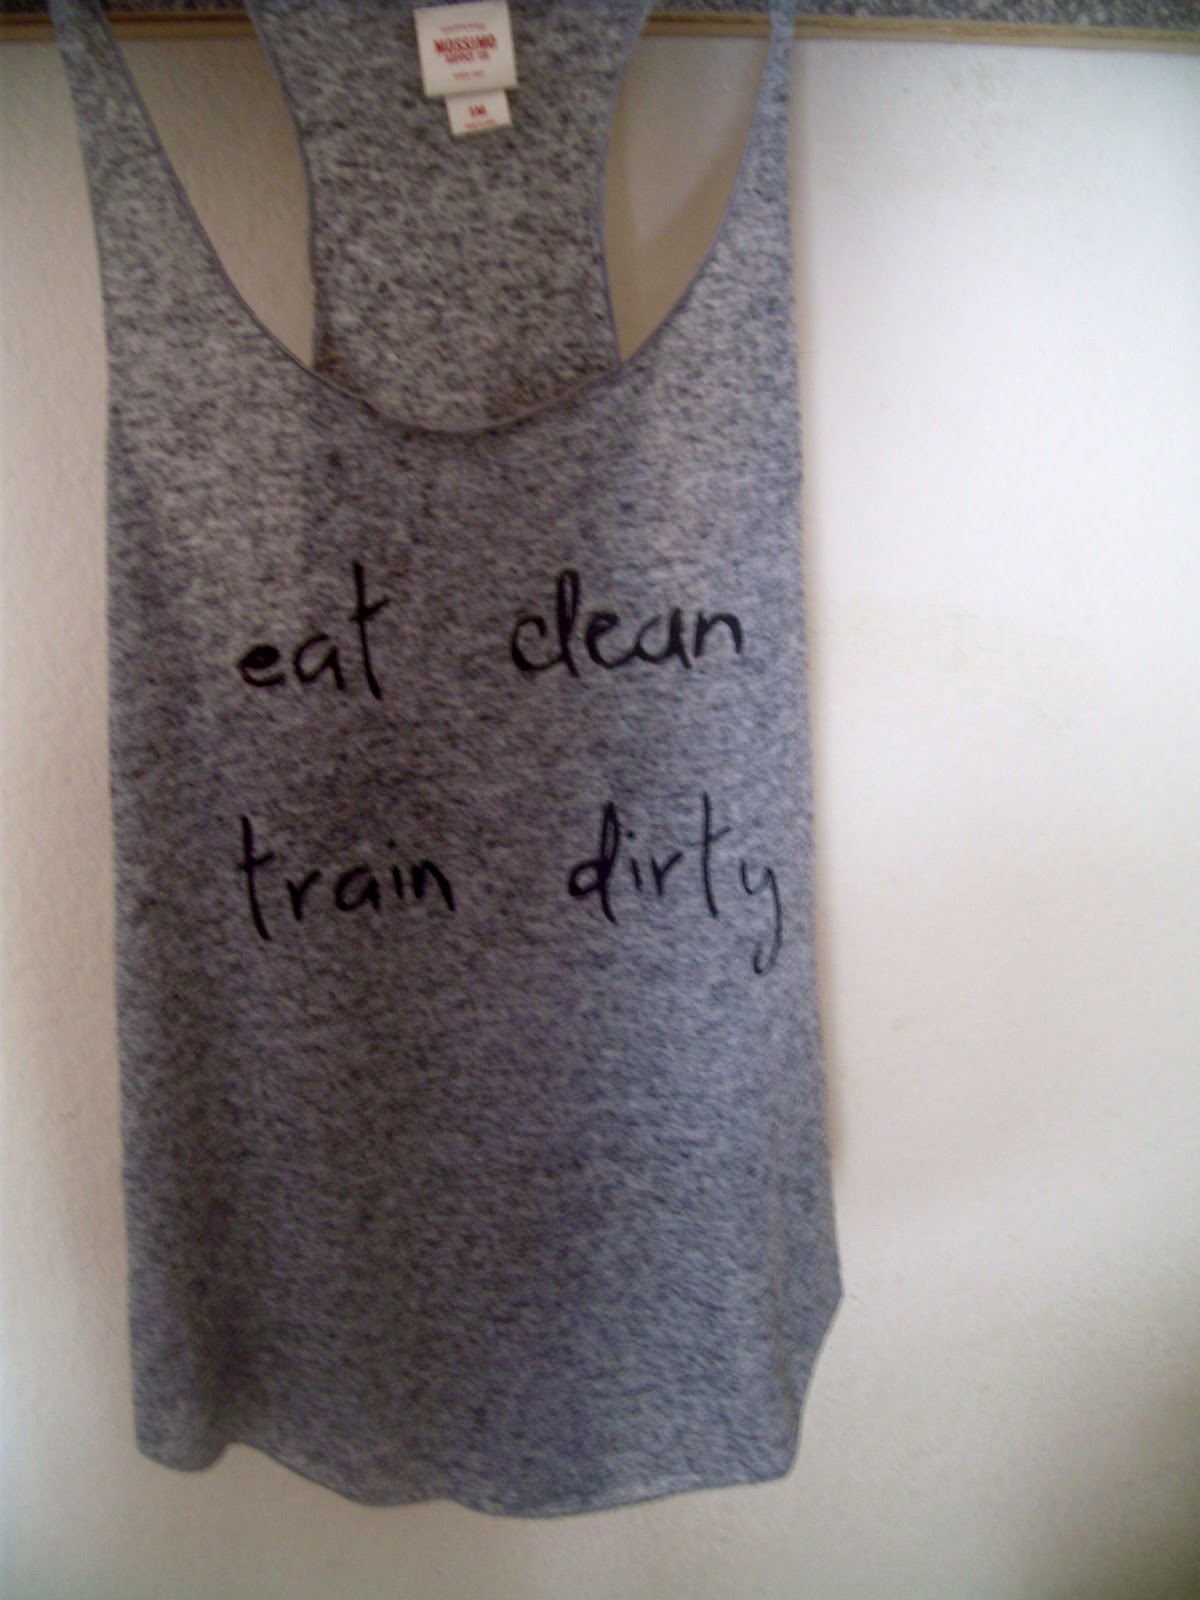
I’ve been wanting some motivational tank tops lately and had found quite a few on Etsy (seen above) but was having a hard time shelling out the money for what I felt I could probably do myself… I’d never tried the freezer paper stencil method but I had a 10K race coming up so I decided to make a shirt for that and if it worked, I’d make more. Well, it worked! I made the “I RUN BECAUSE I CAN” print you see above. Today I made another and took pictures so I can show you all how I did it. So let’s get started!
You will need:
Tank top or whatever you want your words (or image) on like a tote bag, shorts etc
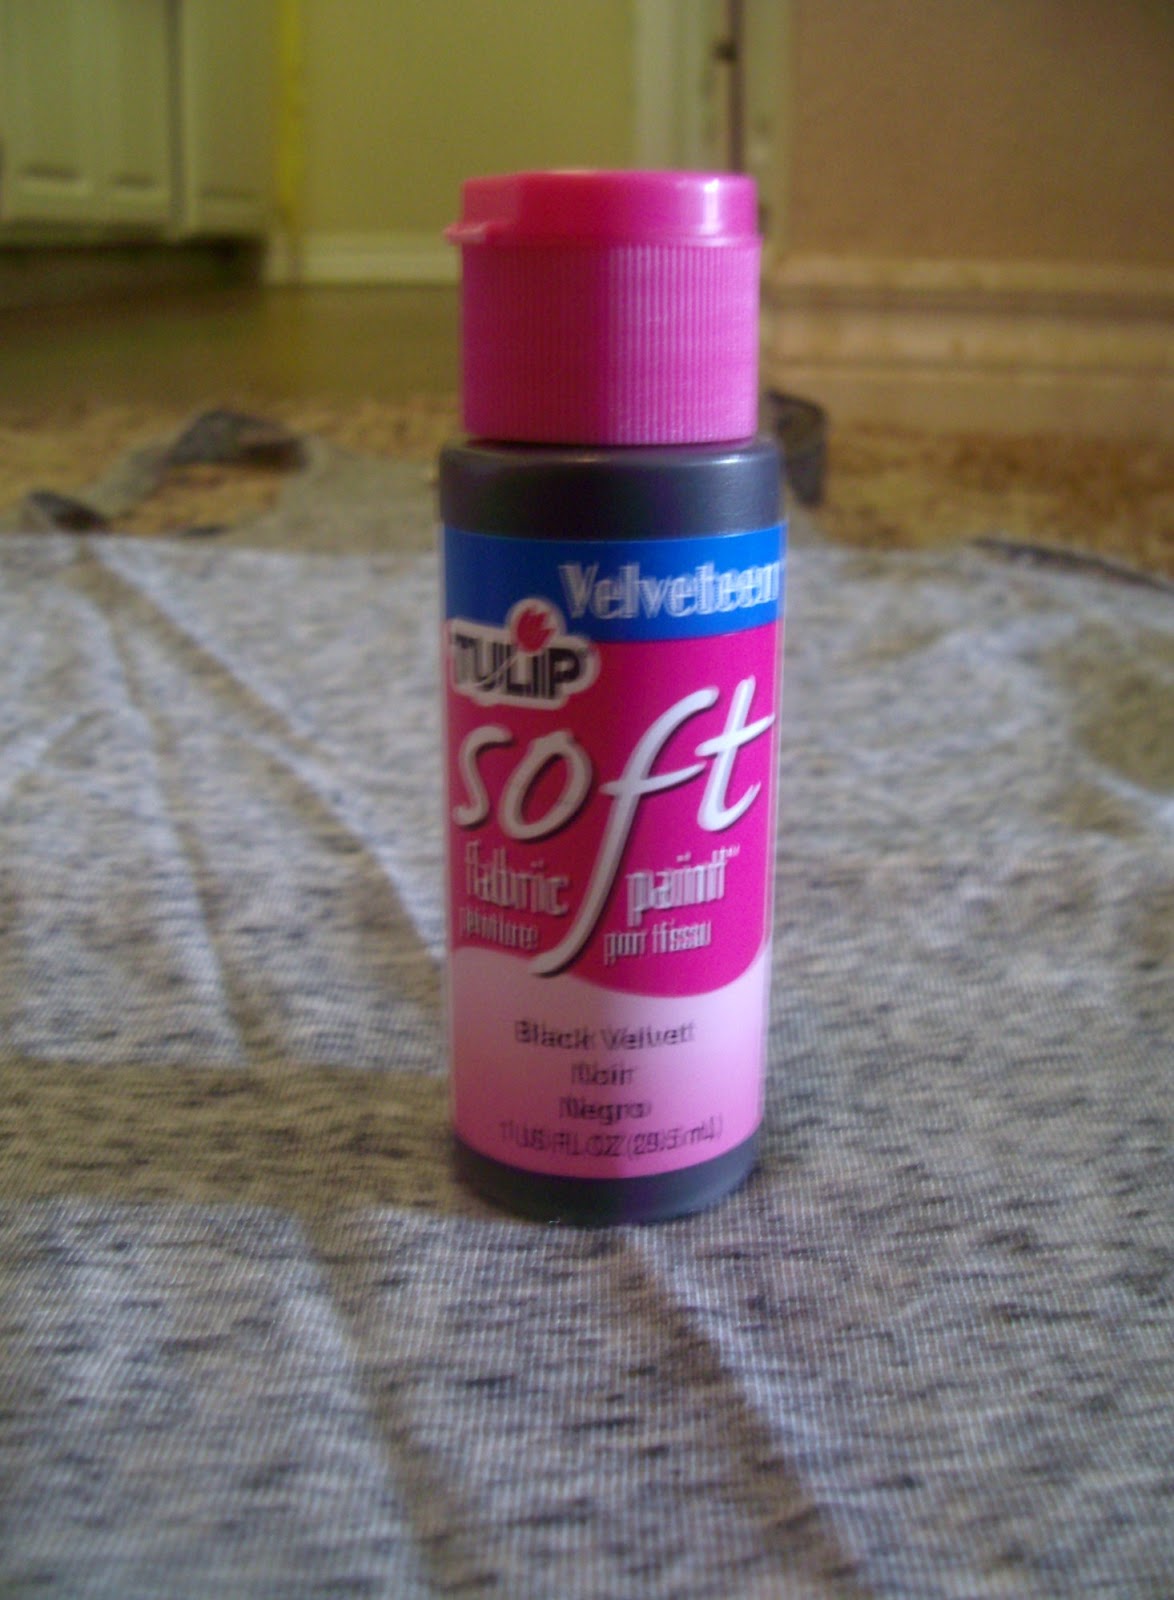
Fabric paint or you can use acrylic paint + fabric medium
Sponge brush (I used a very inexpensive one from Michaels)
Freezer paper (around $5 for a huge thing of it at Walmart)
Pencil or something for tracing
X-acto knife (mine was around $5 at Walmart)
Printer (optional but you’ll have to freehand your design without one)
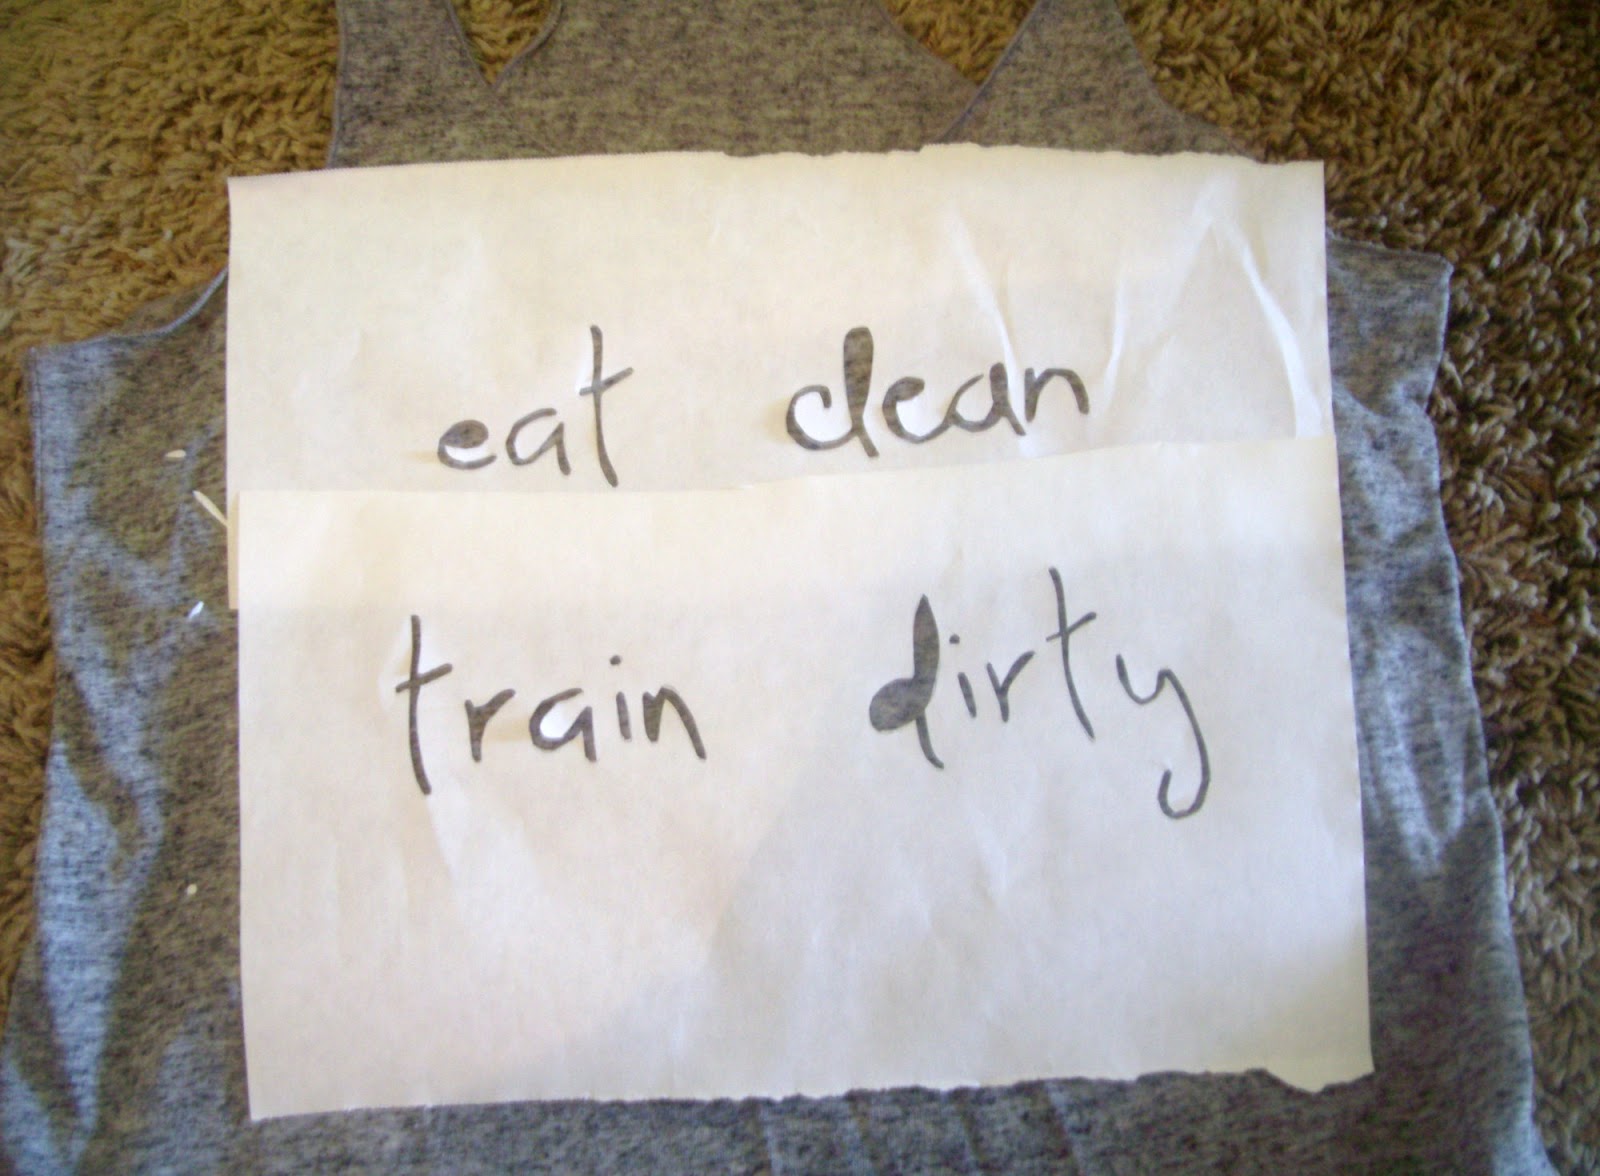
You’re going to want to start with deciding on a font if you are doing a phrase or an image. I did a phrase. I used dafont.com to find a font. It’s a free site with tons of fonts available. You just click ‘download’, open the file, click ‘install’ and then in Word or whatever program you are using you will see the new font along with all of the original ones. Easy!
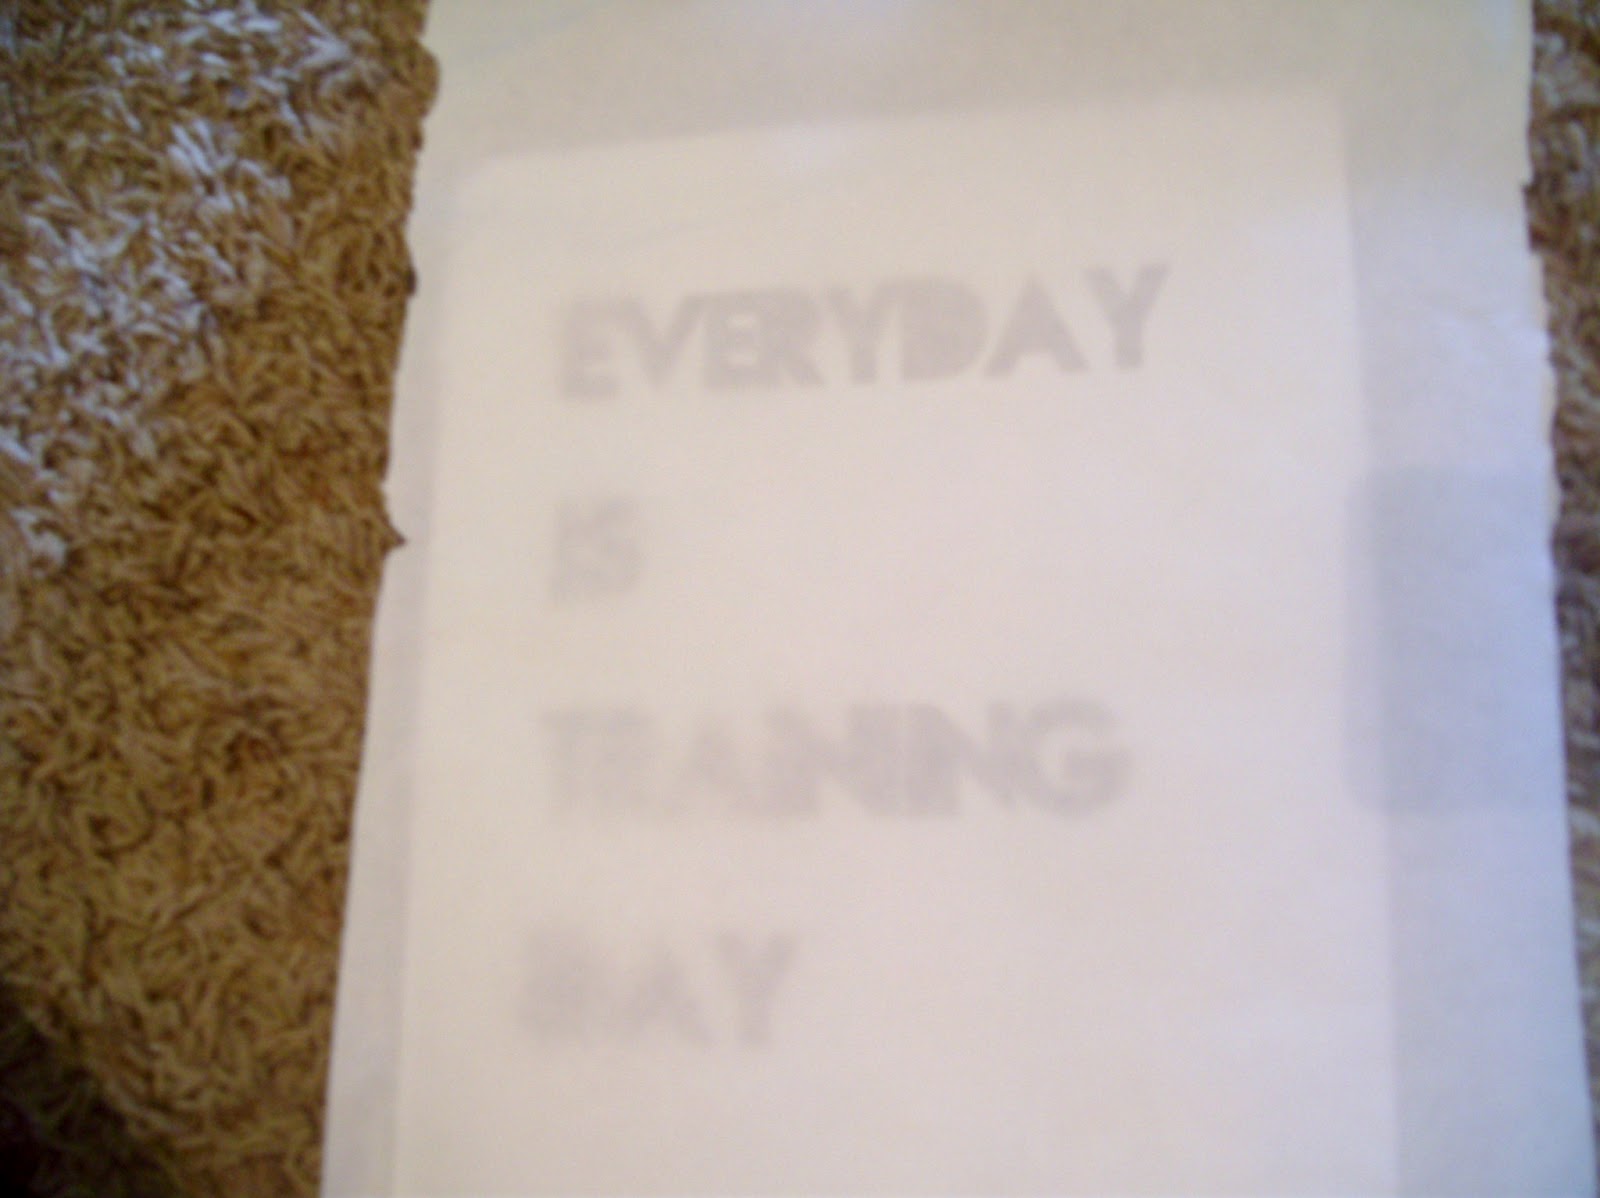
Print out your words/image onto paper. If you don’t have a printer, you’ll have to just freehand your design either onto paper or right onto the freezer paper. If you can, print the image so that it appears the same way you want it to appear on the shirt. It’s not necessary but it just simplifies the process. I wasn’t able to do this because this font insisted on having huge gaps inbetween each line. I have heard you can put the freezer paper right into your printer, saving yourself a step, but I haven’t tried that yet.
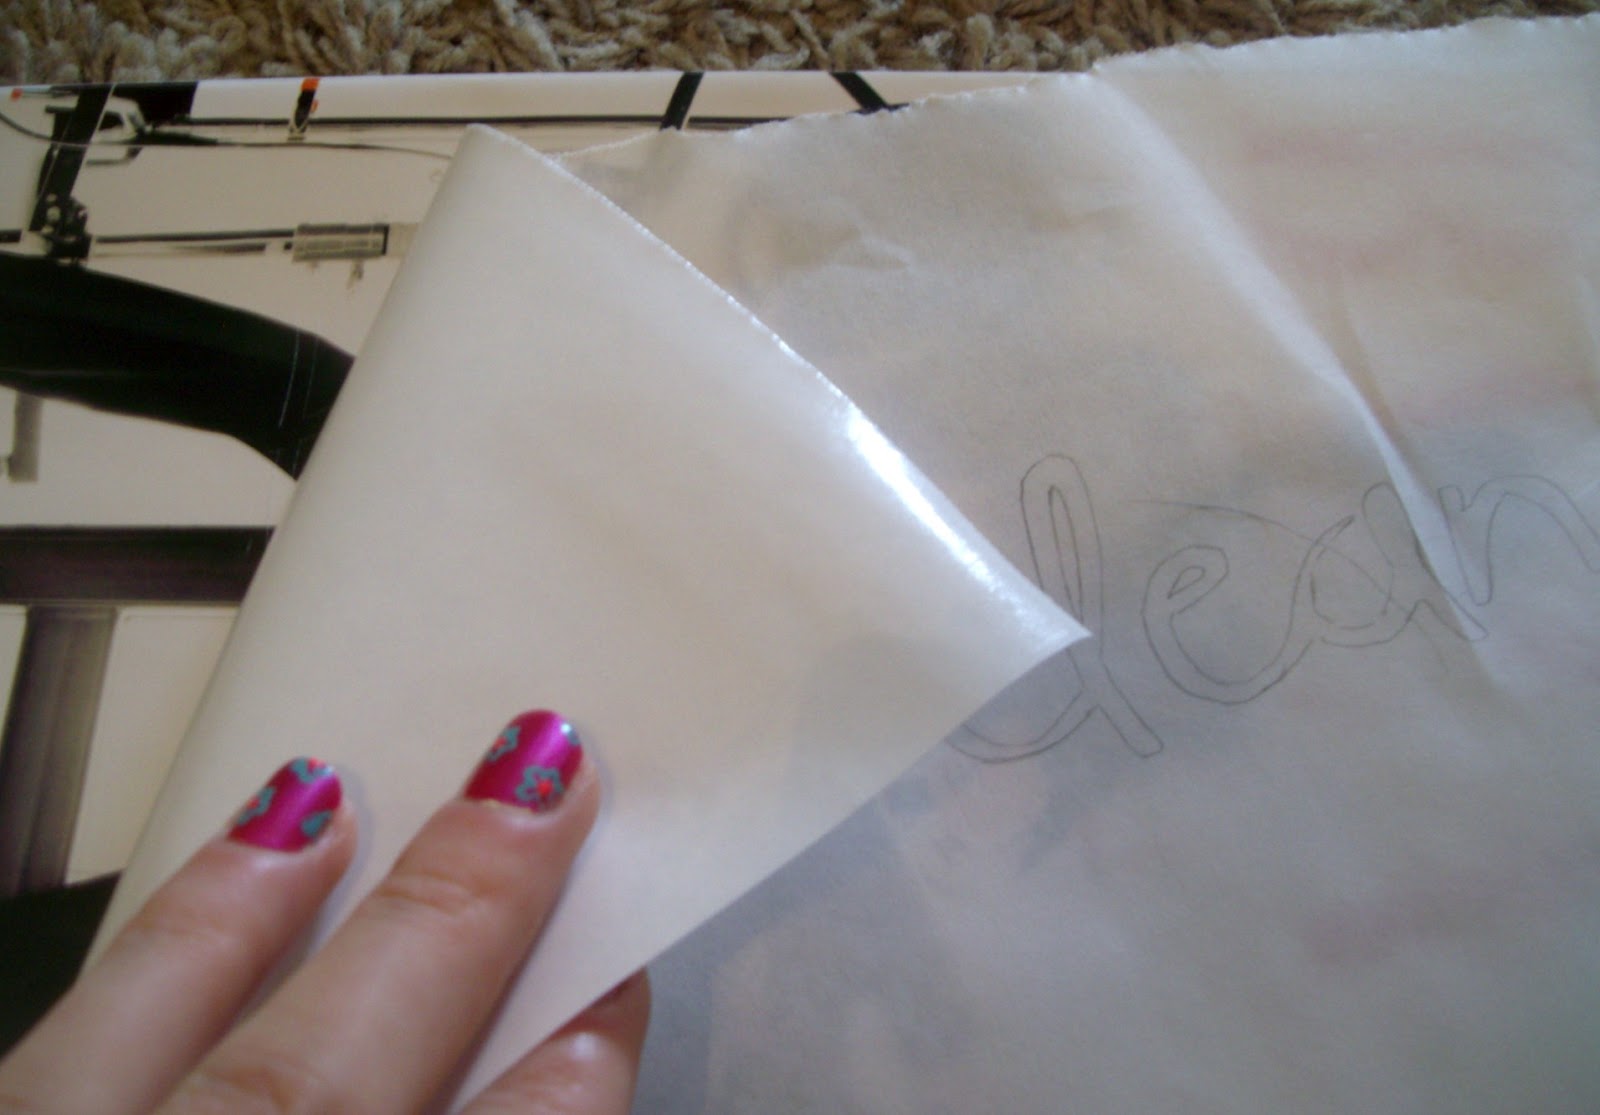
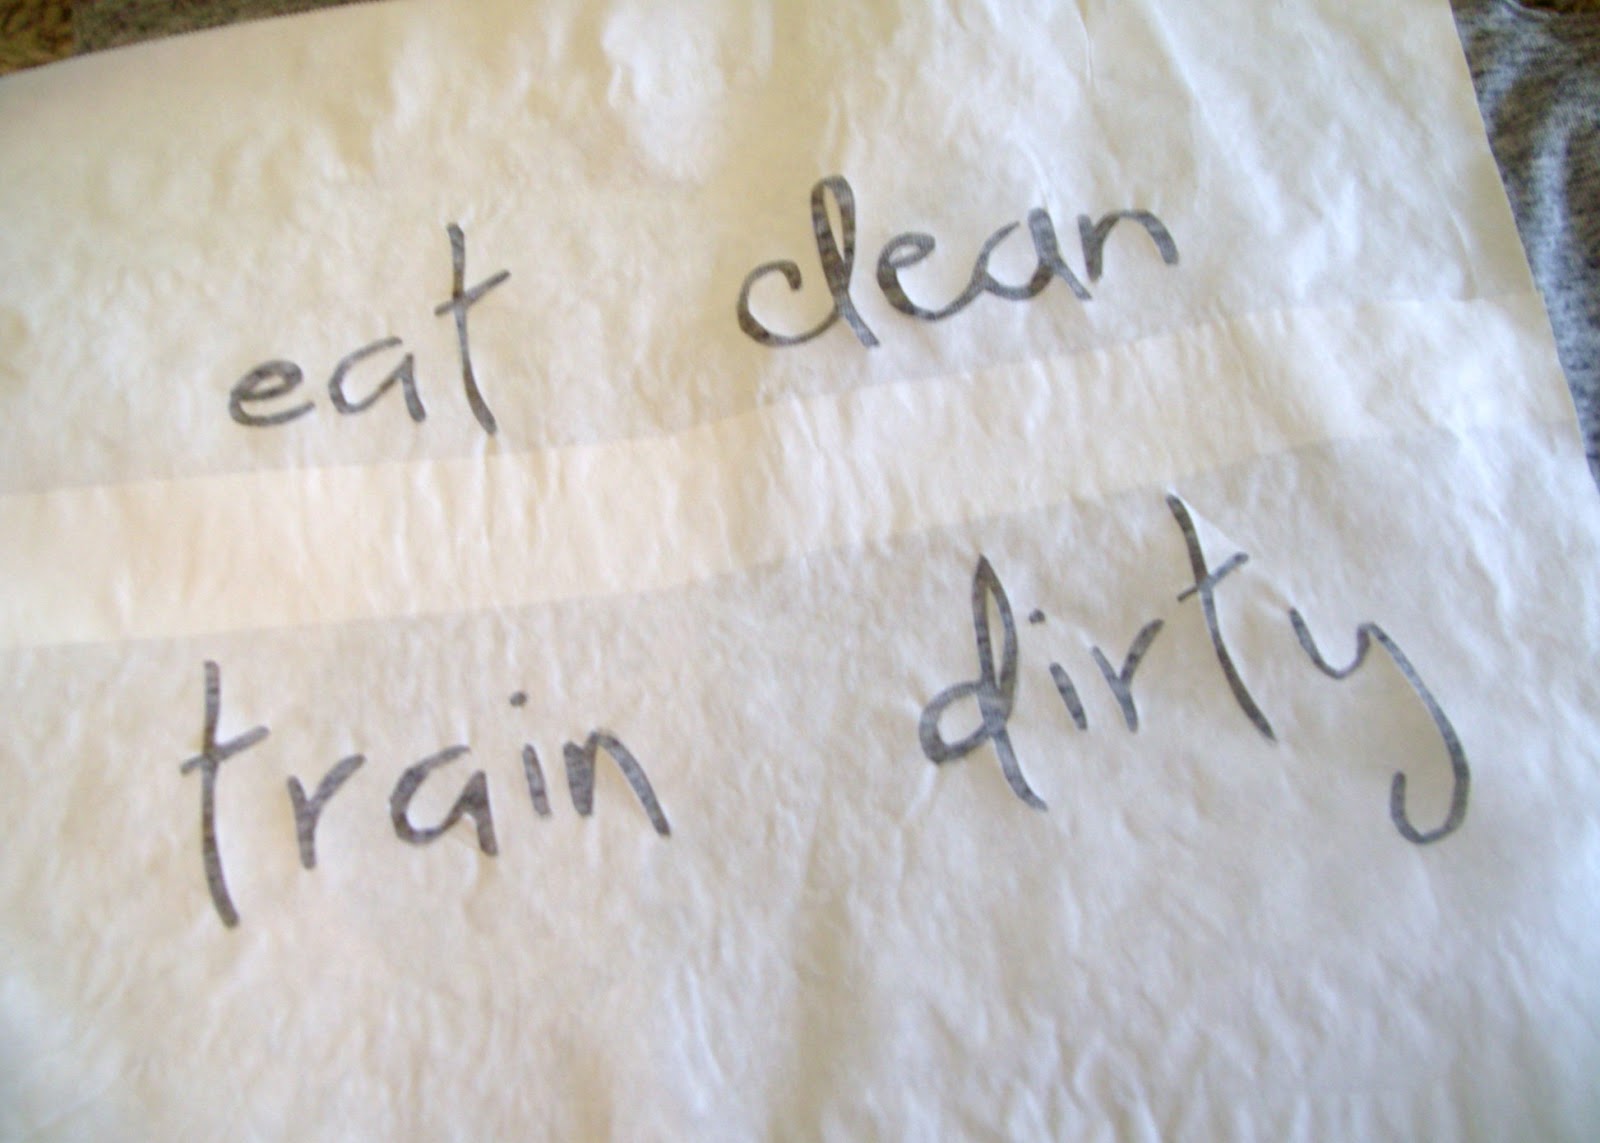
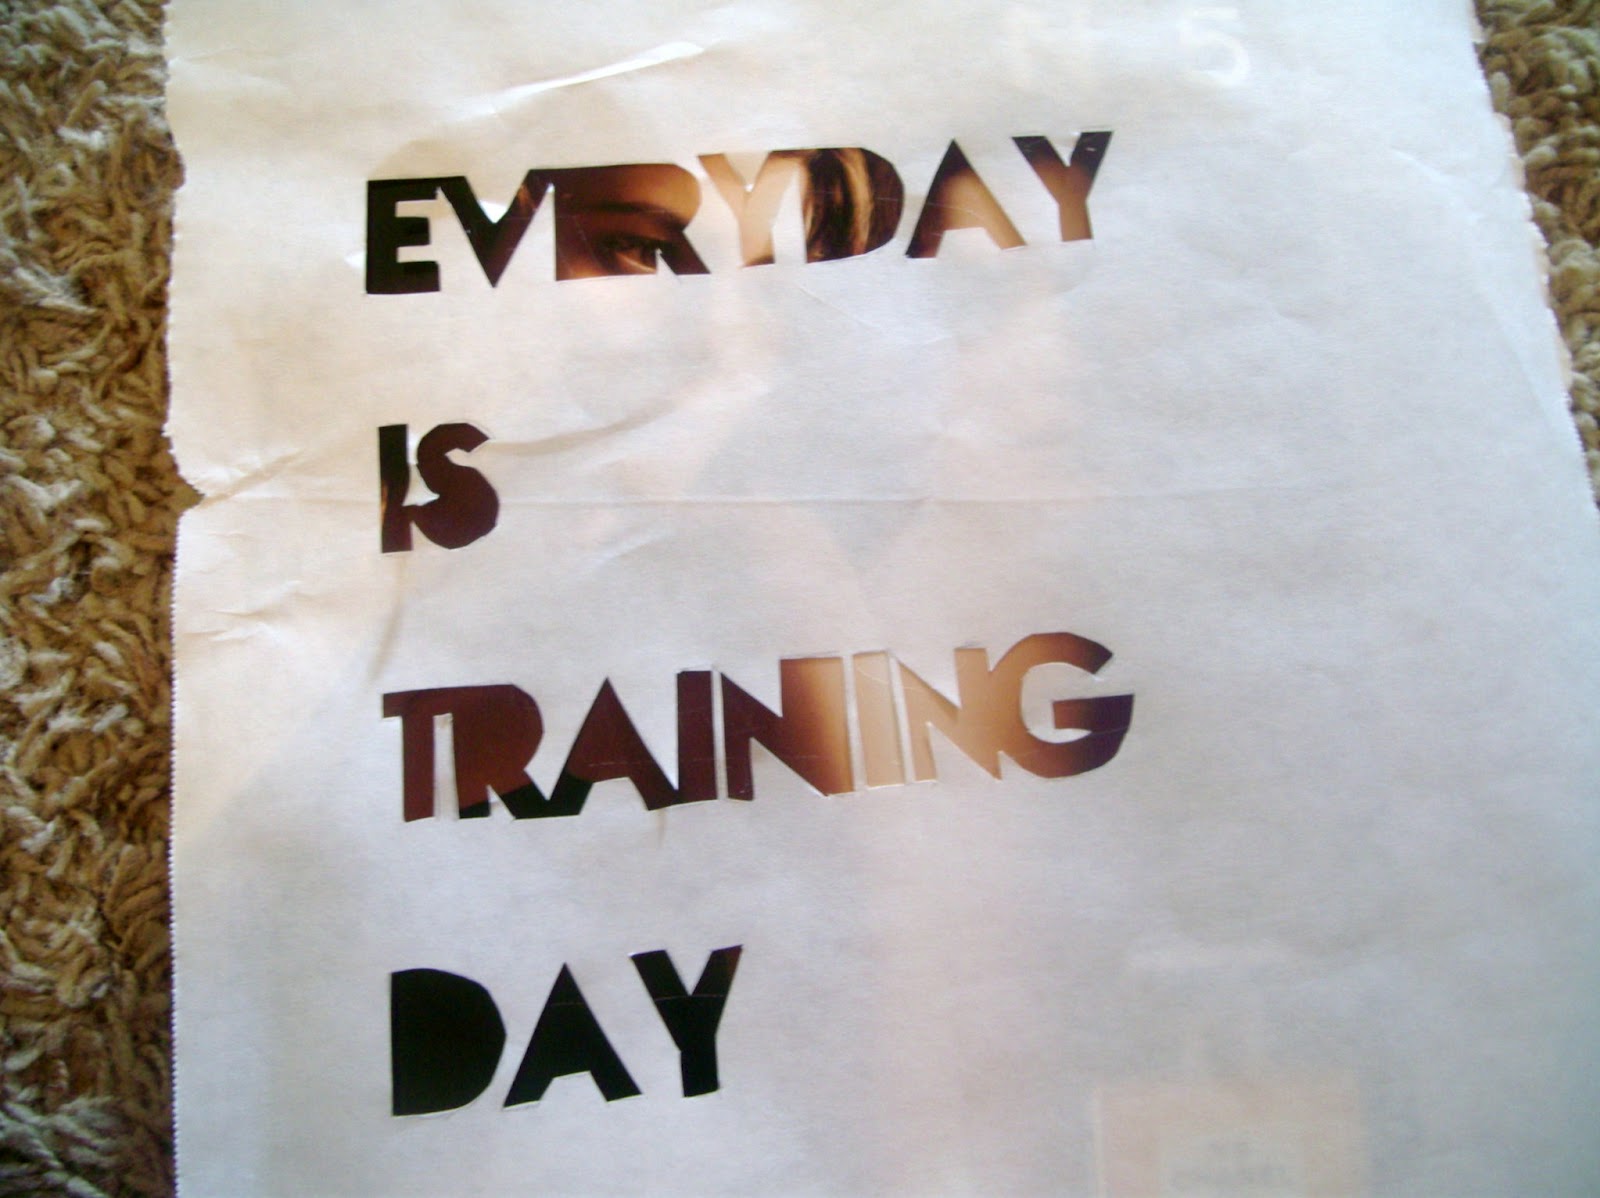
Alright, lay your image/words on a magazine or piece of cardboard (to be safe!). Lay your freezer paper on top of the image SHINY SIDE DOWN. You can start cutting out the letters now or do what I did and trace them onto the freezer paper first.

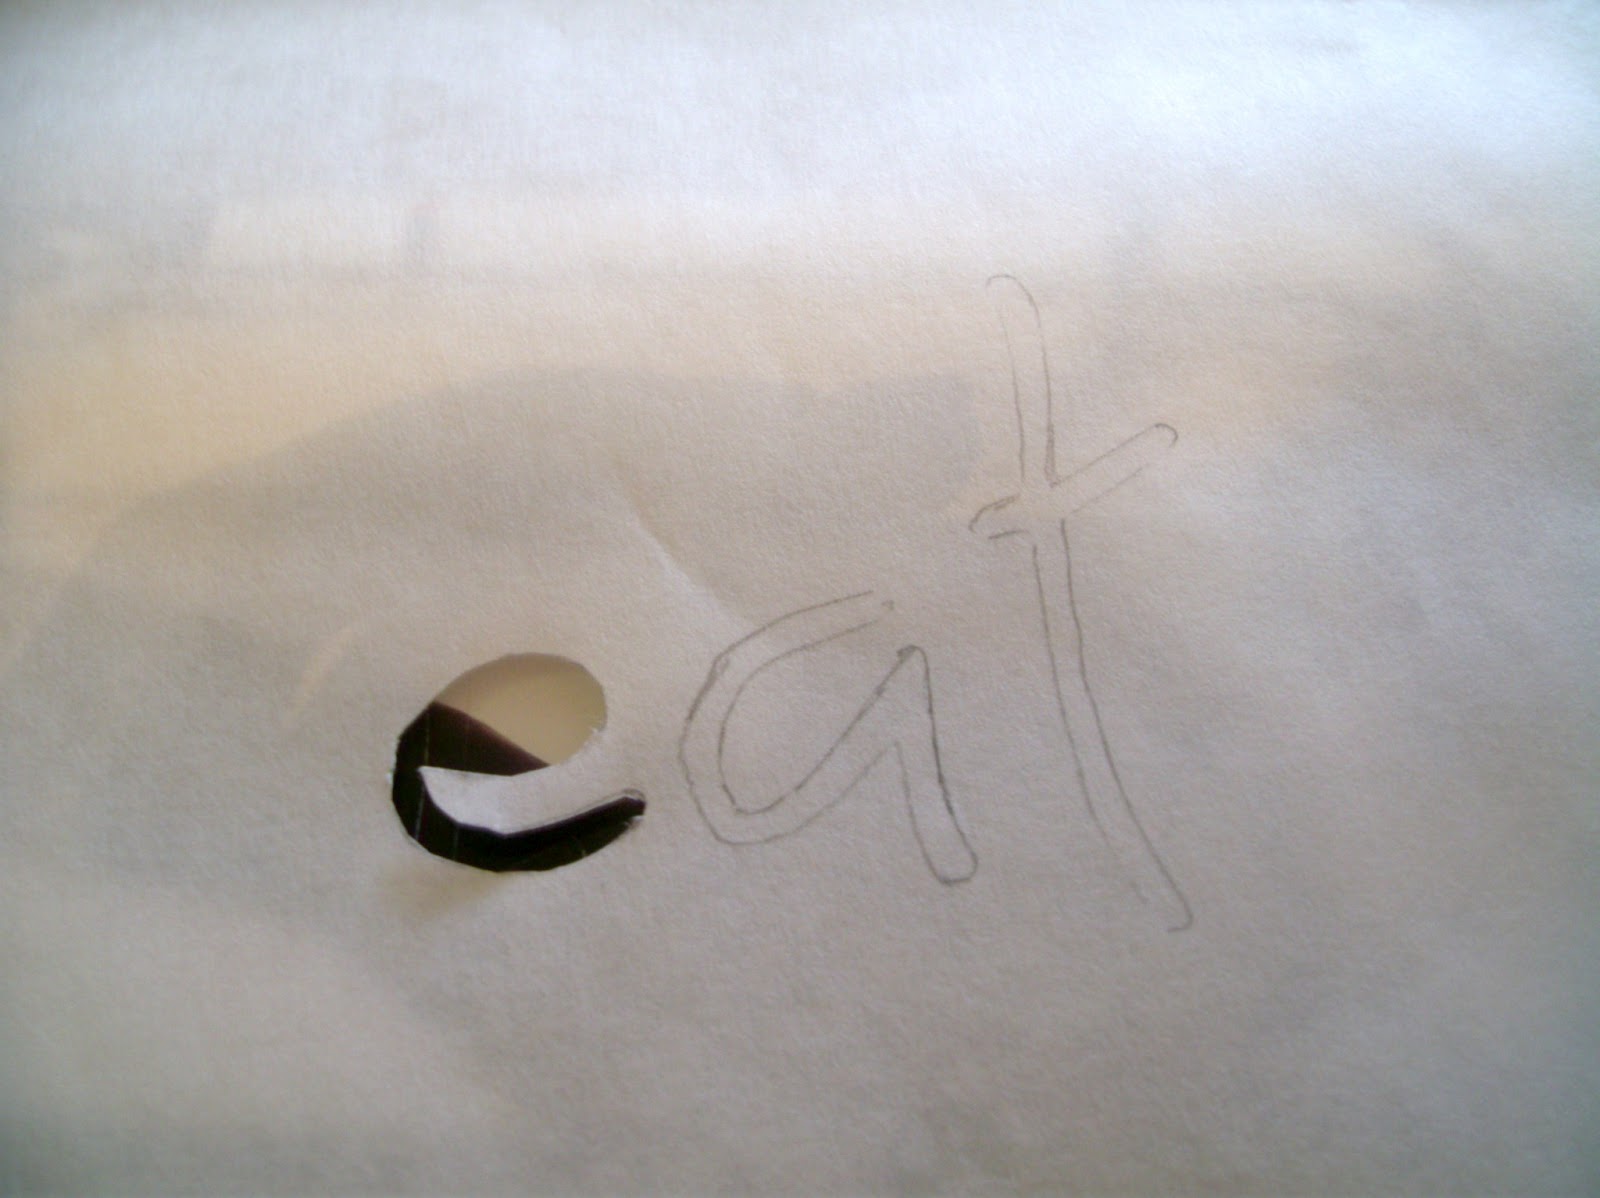
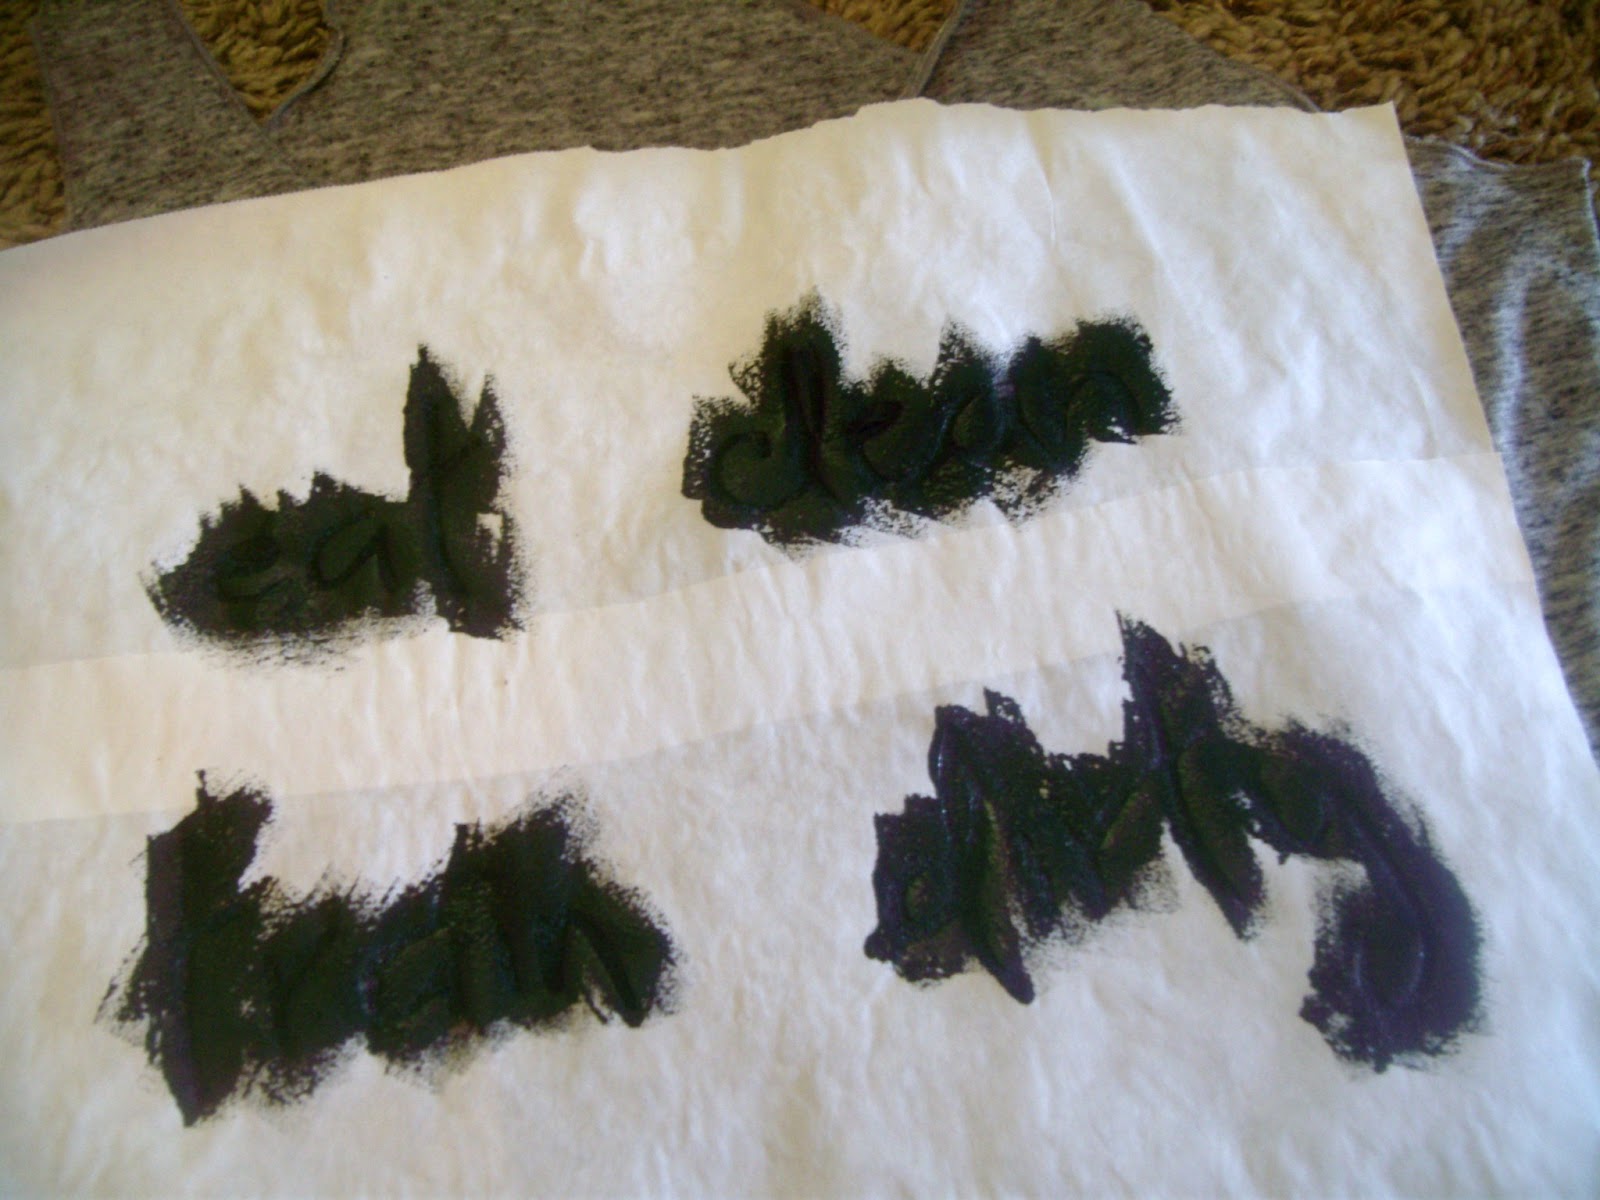
If you have small pieces, start with those first and then cut out the rest of the letter. Save the small pieces but you can discard the rest.


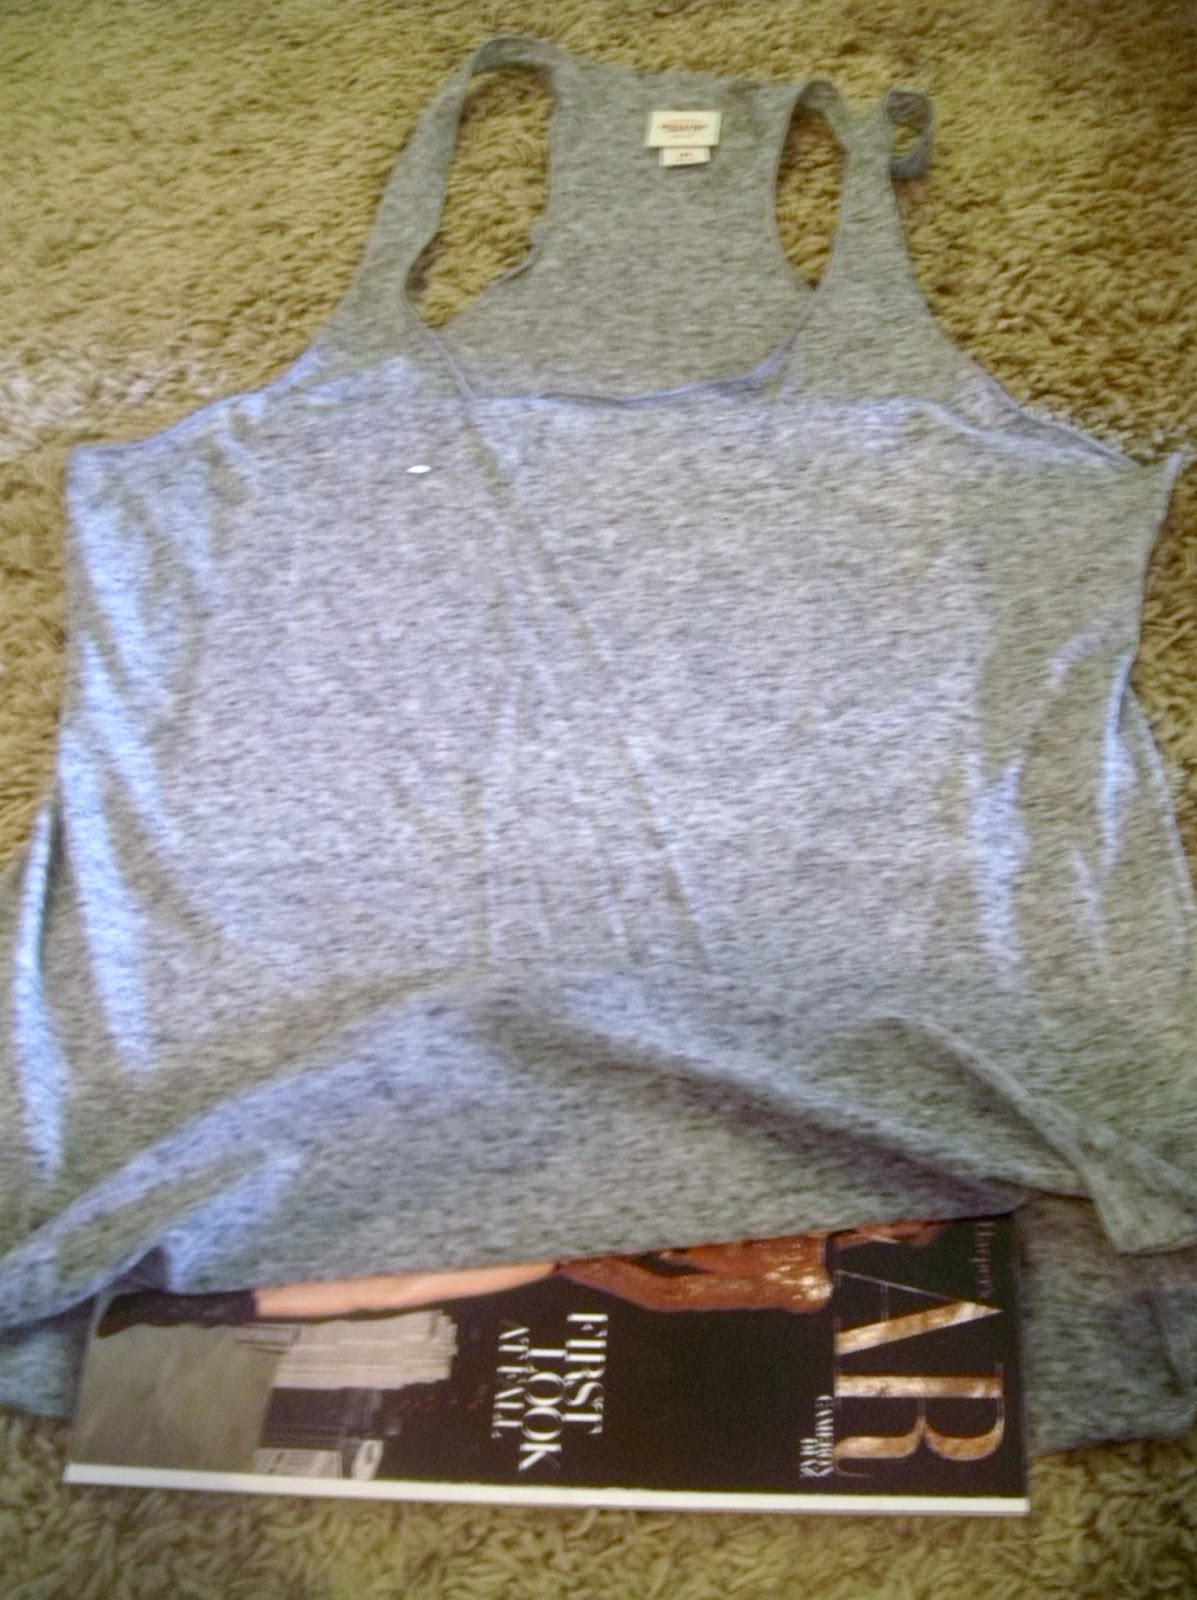
Lay your tshirt or whatever you are using down flat. Slide a magazine or cardboard between the two layers of the shirt to prevent the paint from bleeding through.


The options are pretty endless here so have fun! I think I may print out these tribal prints and add those to a top next time.
