Envelope Pillow Cover Tutorial
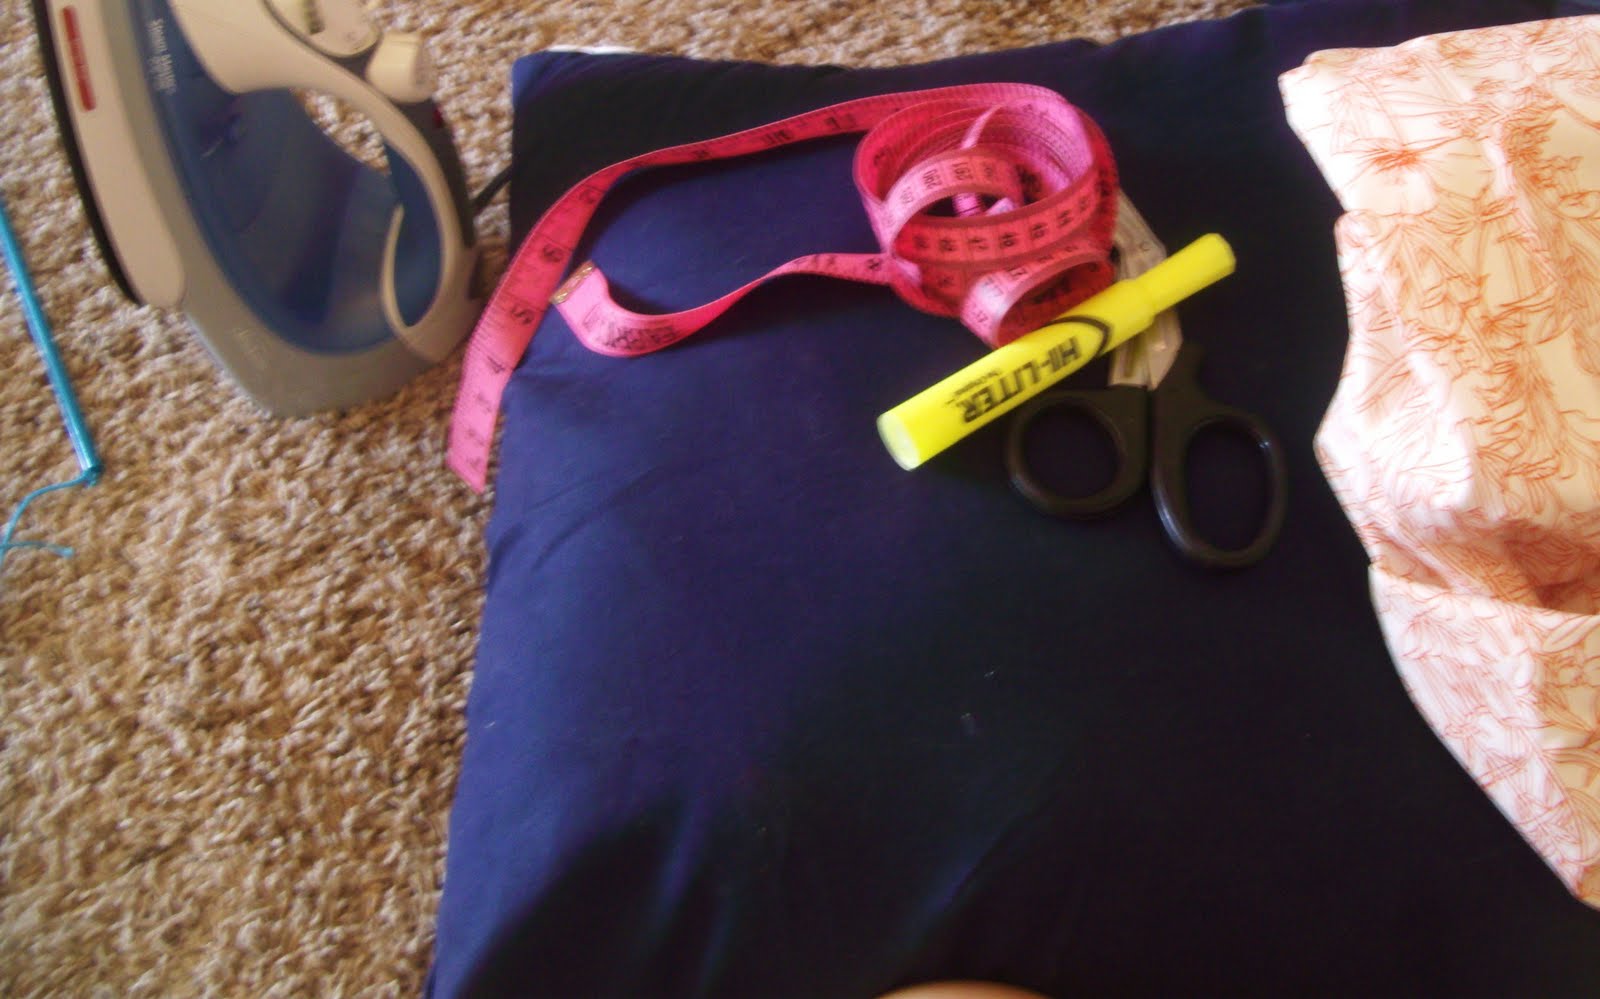
You will need:
pillow form
scissors
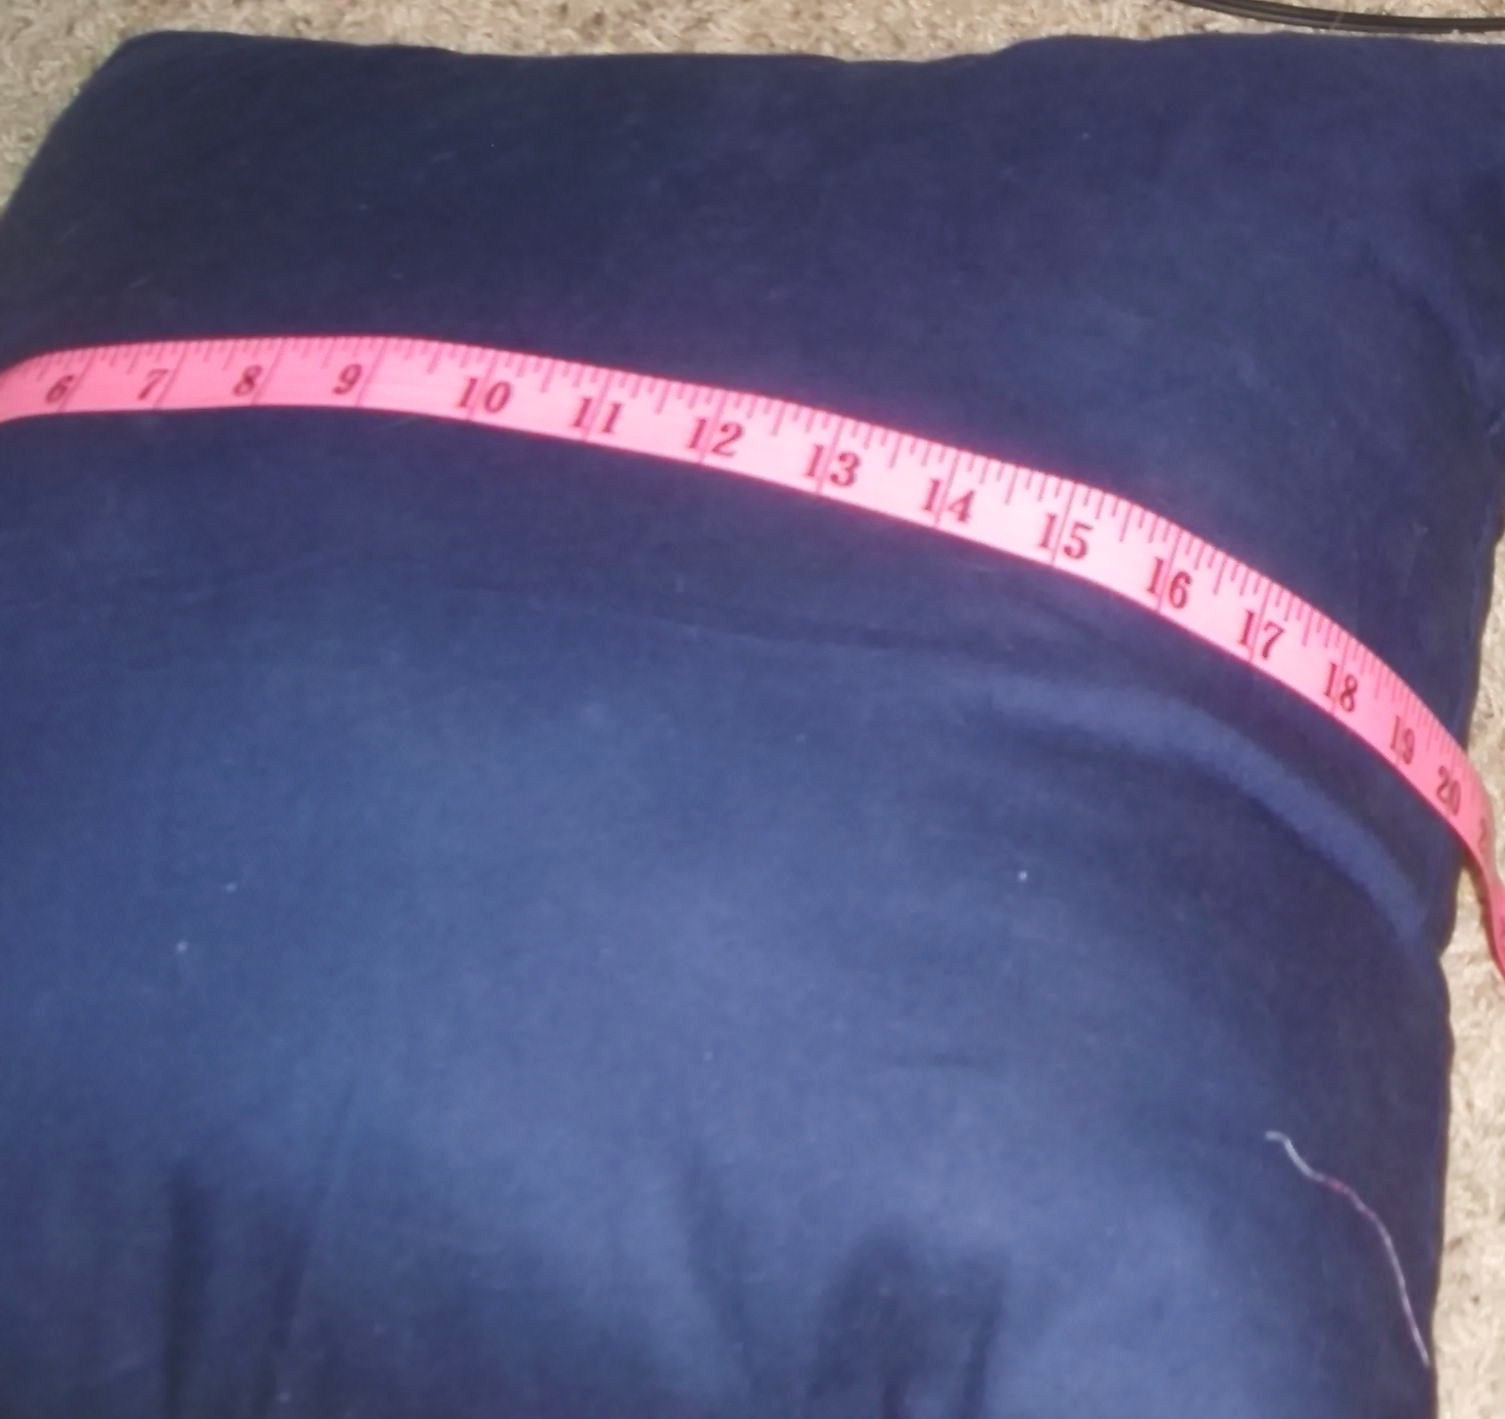
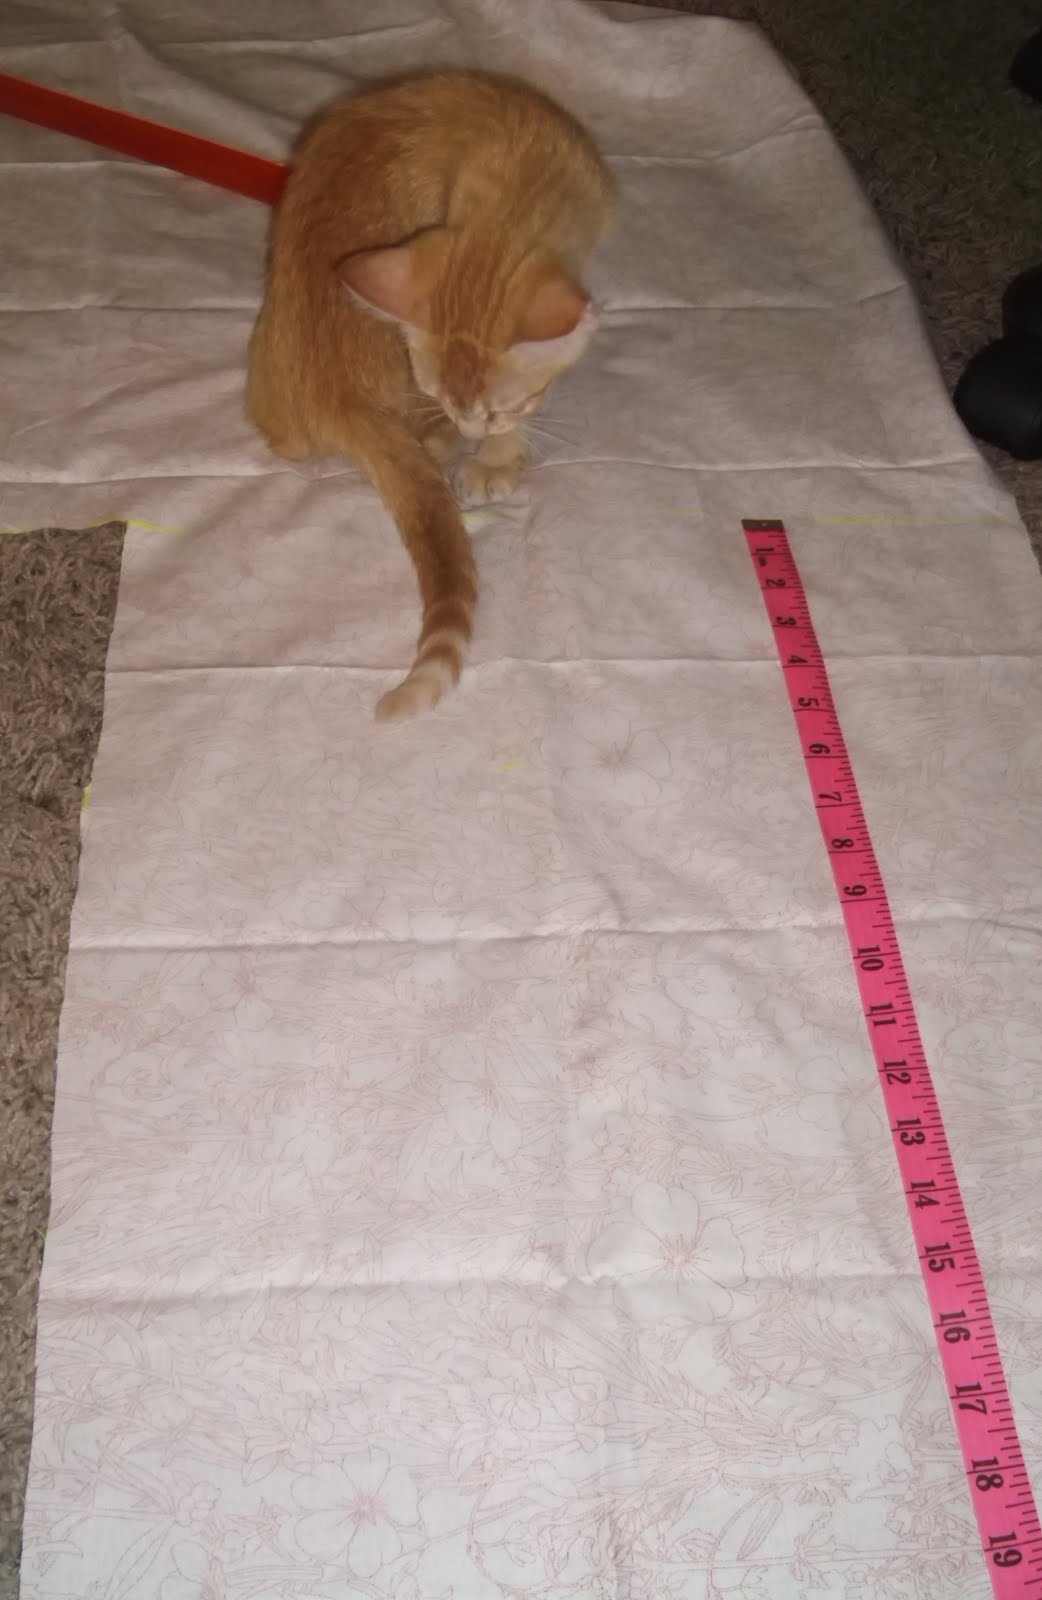
fabric (see Step 1 for amount)
measuring tape
iron
marker
sewing machine
thread
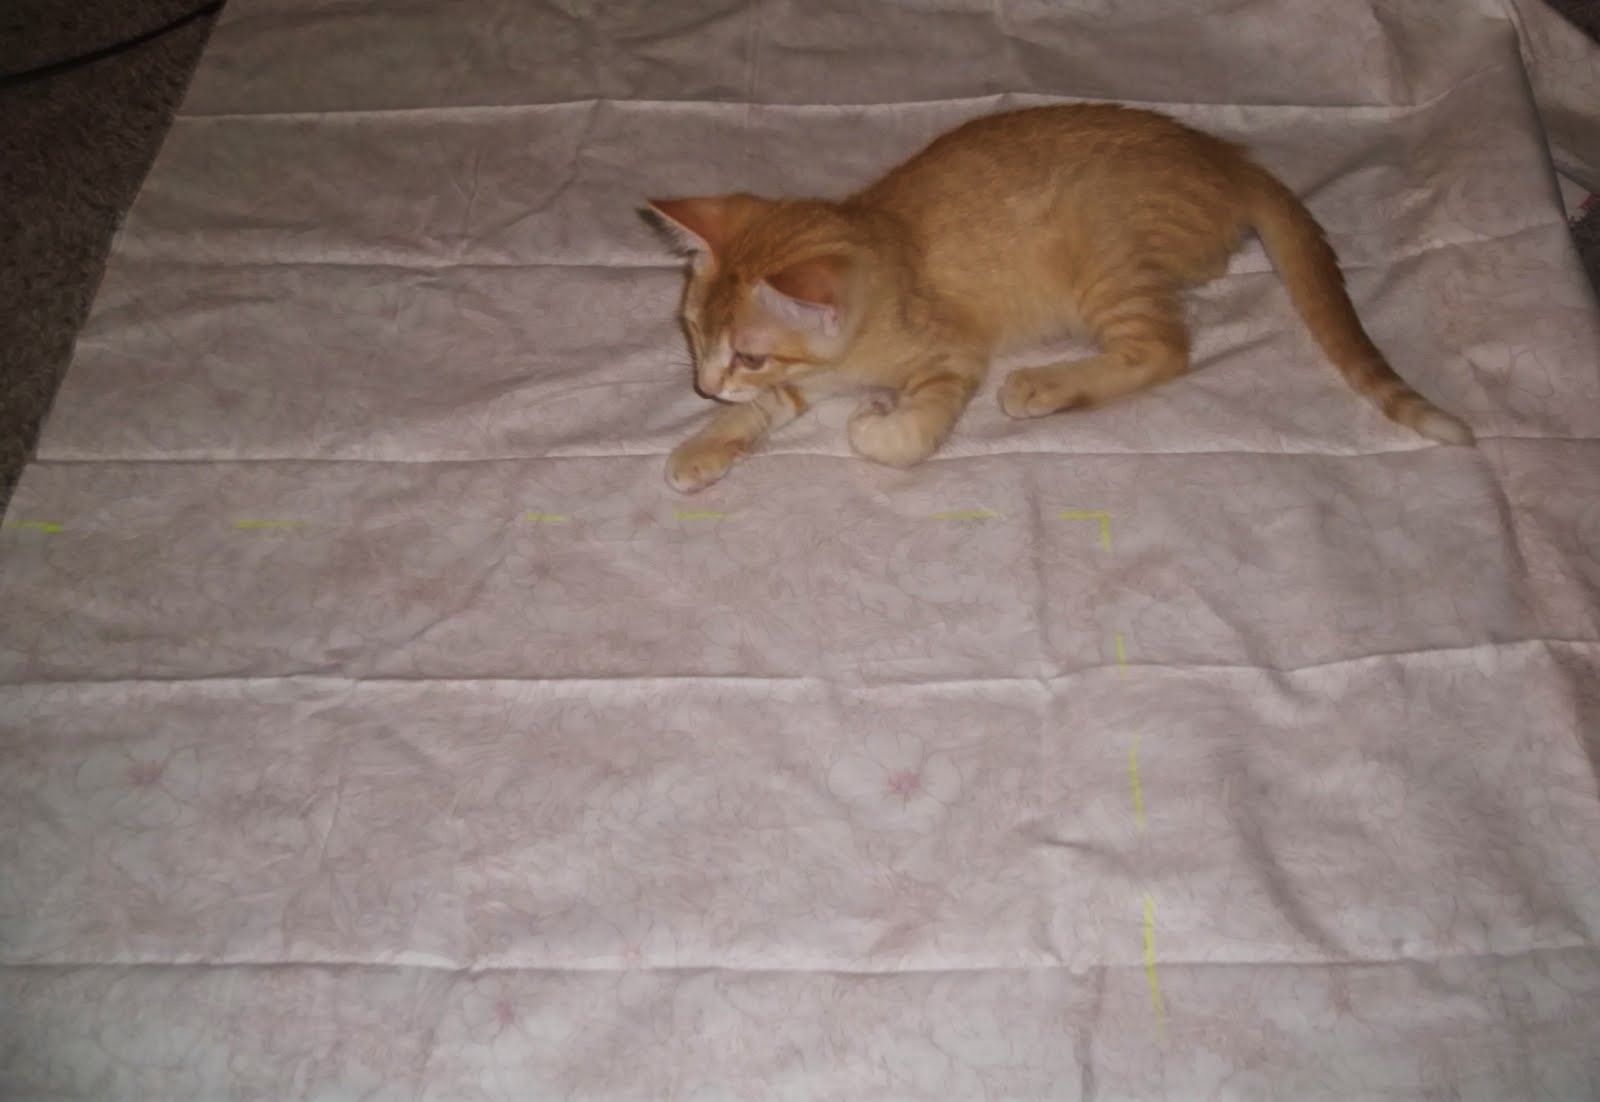
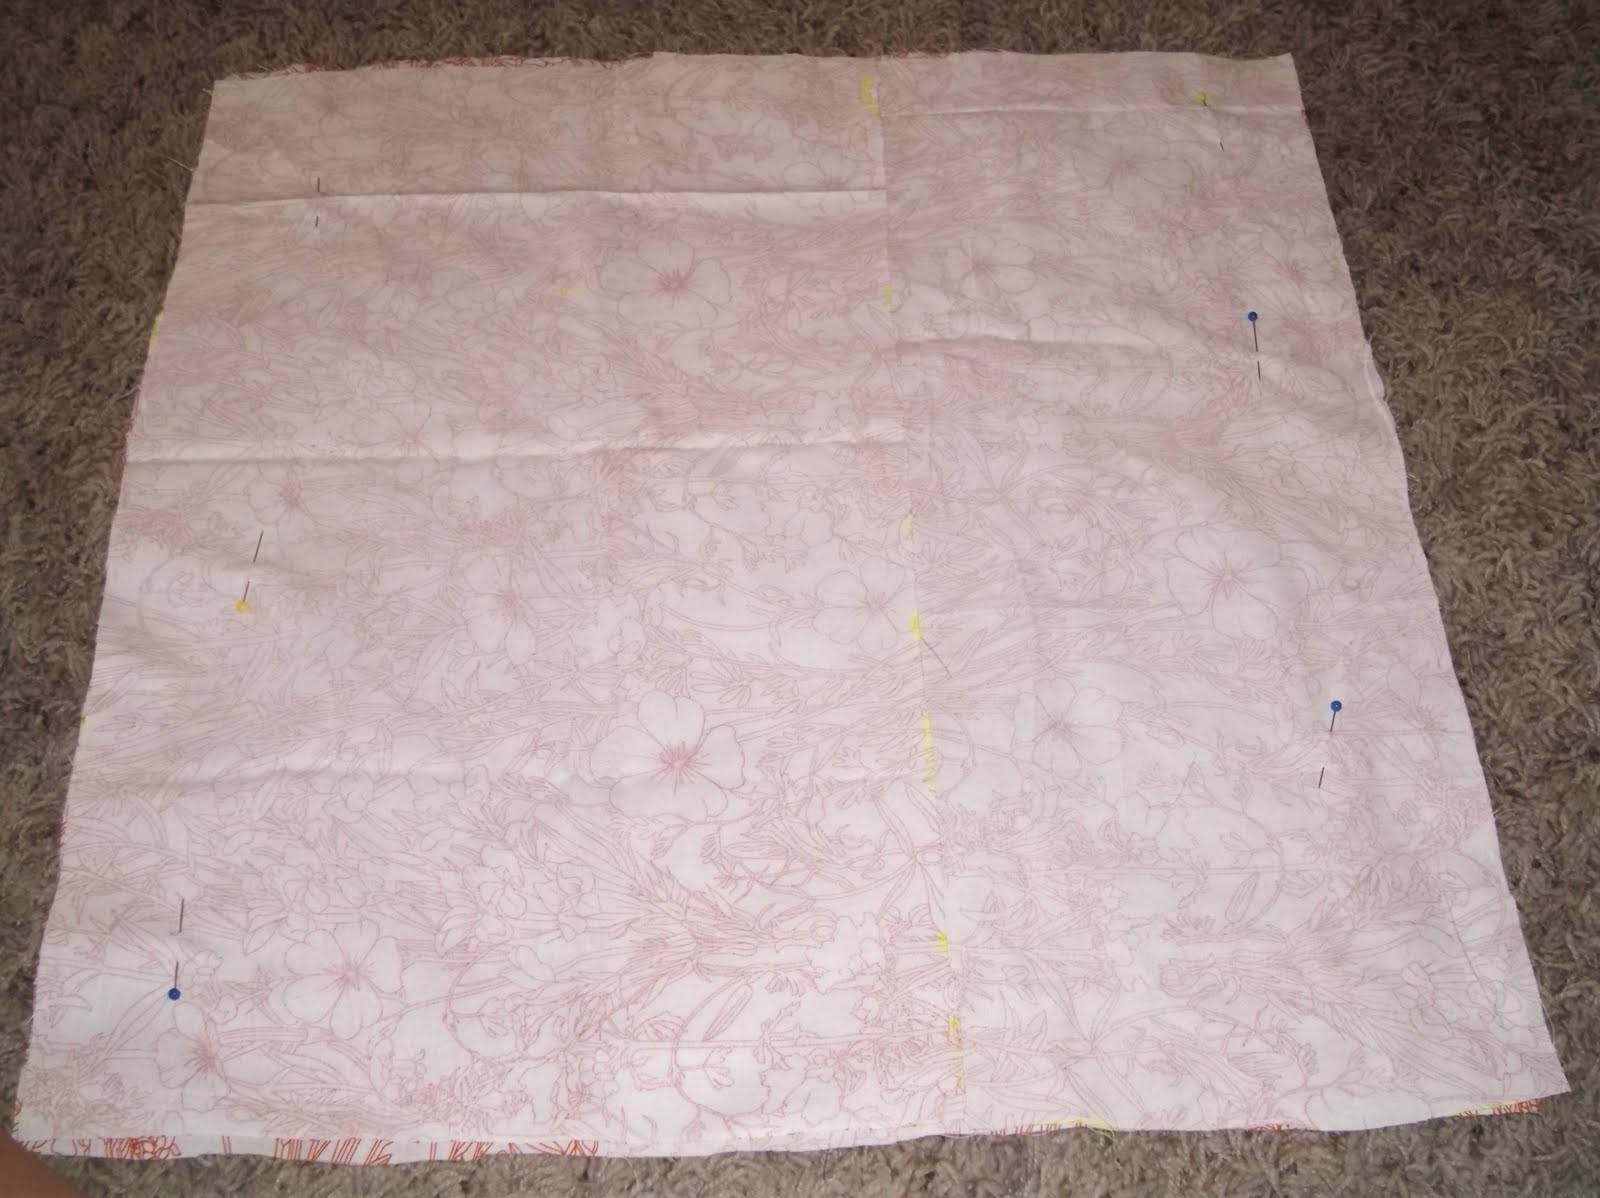
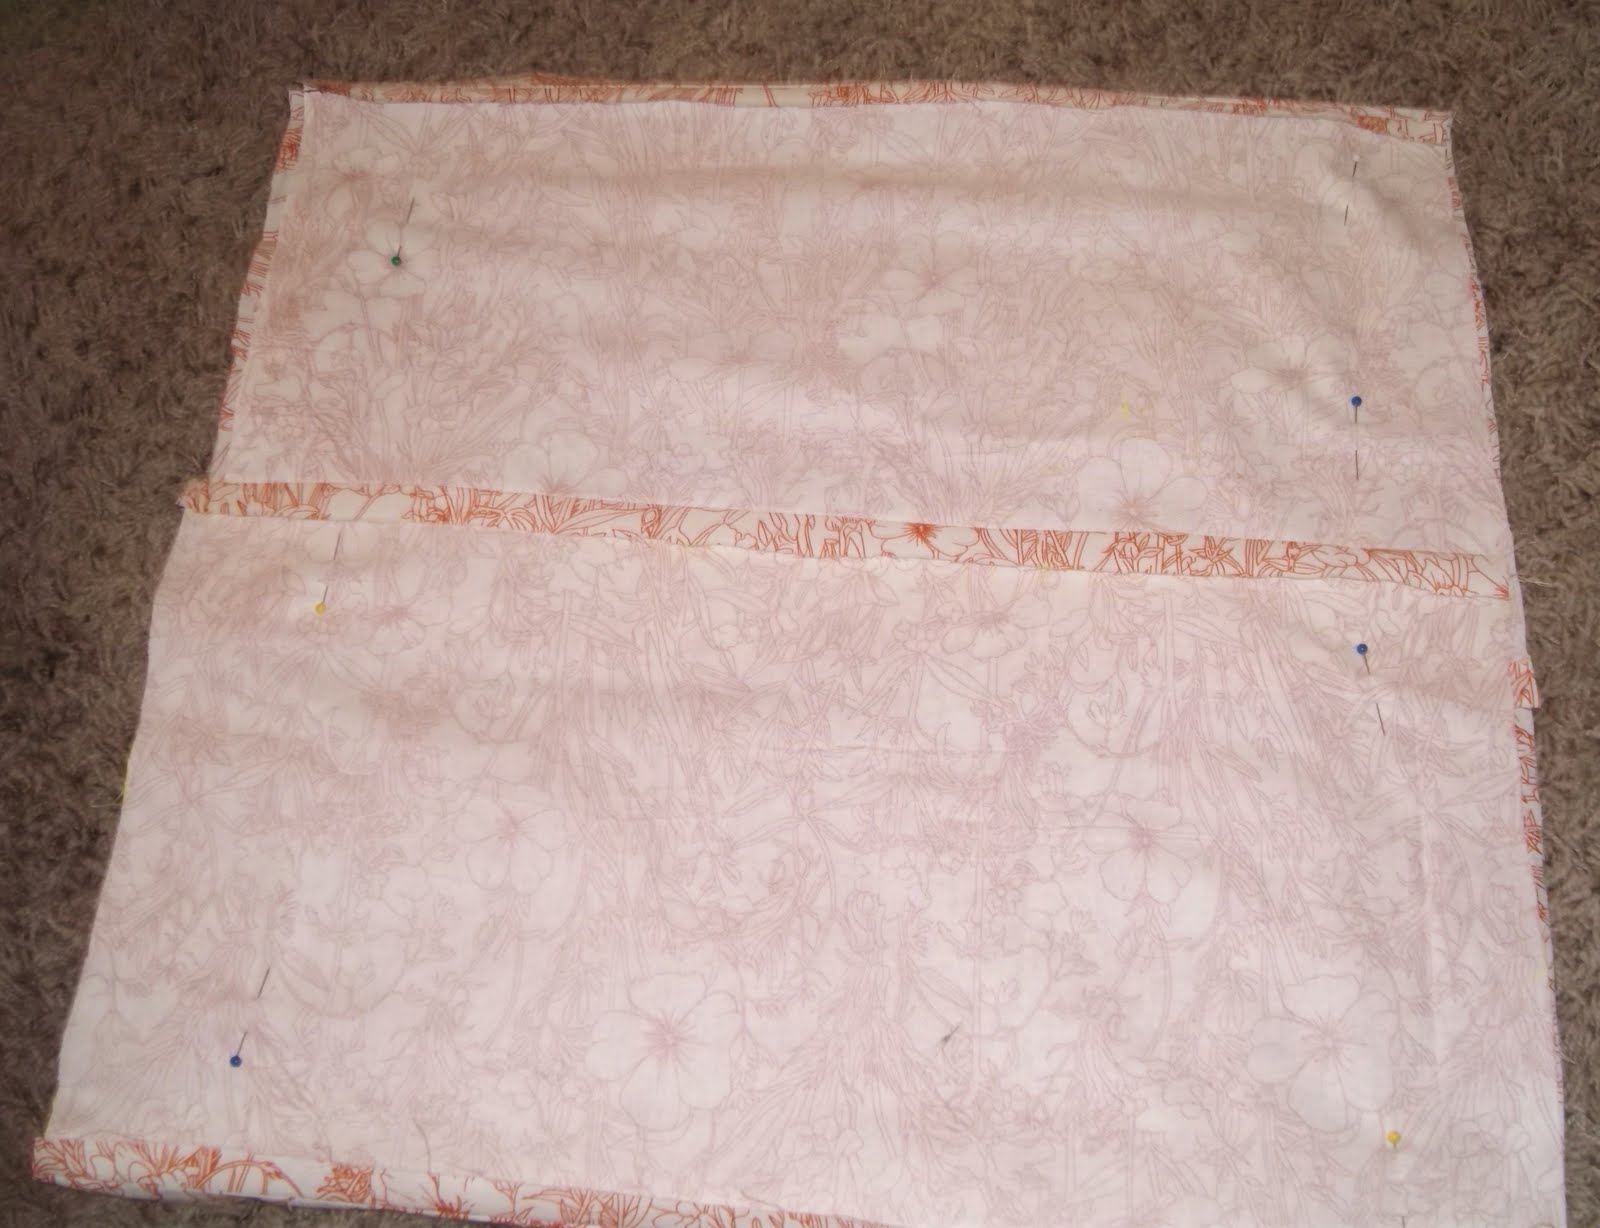
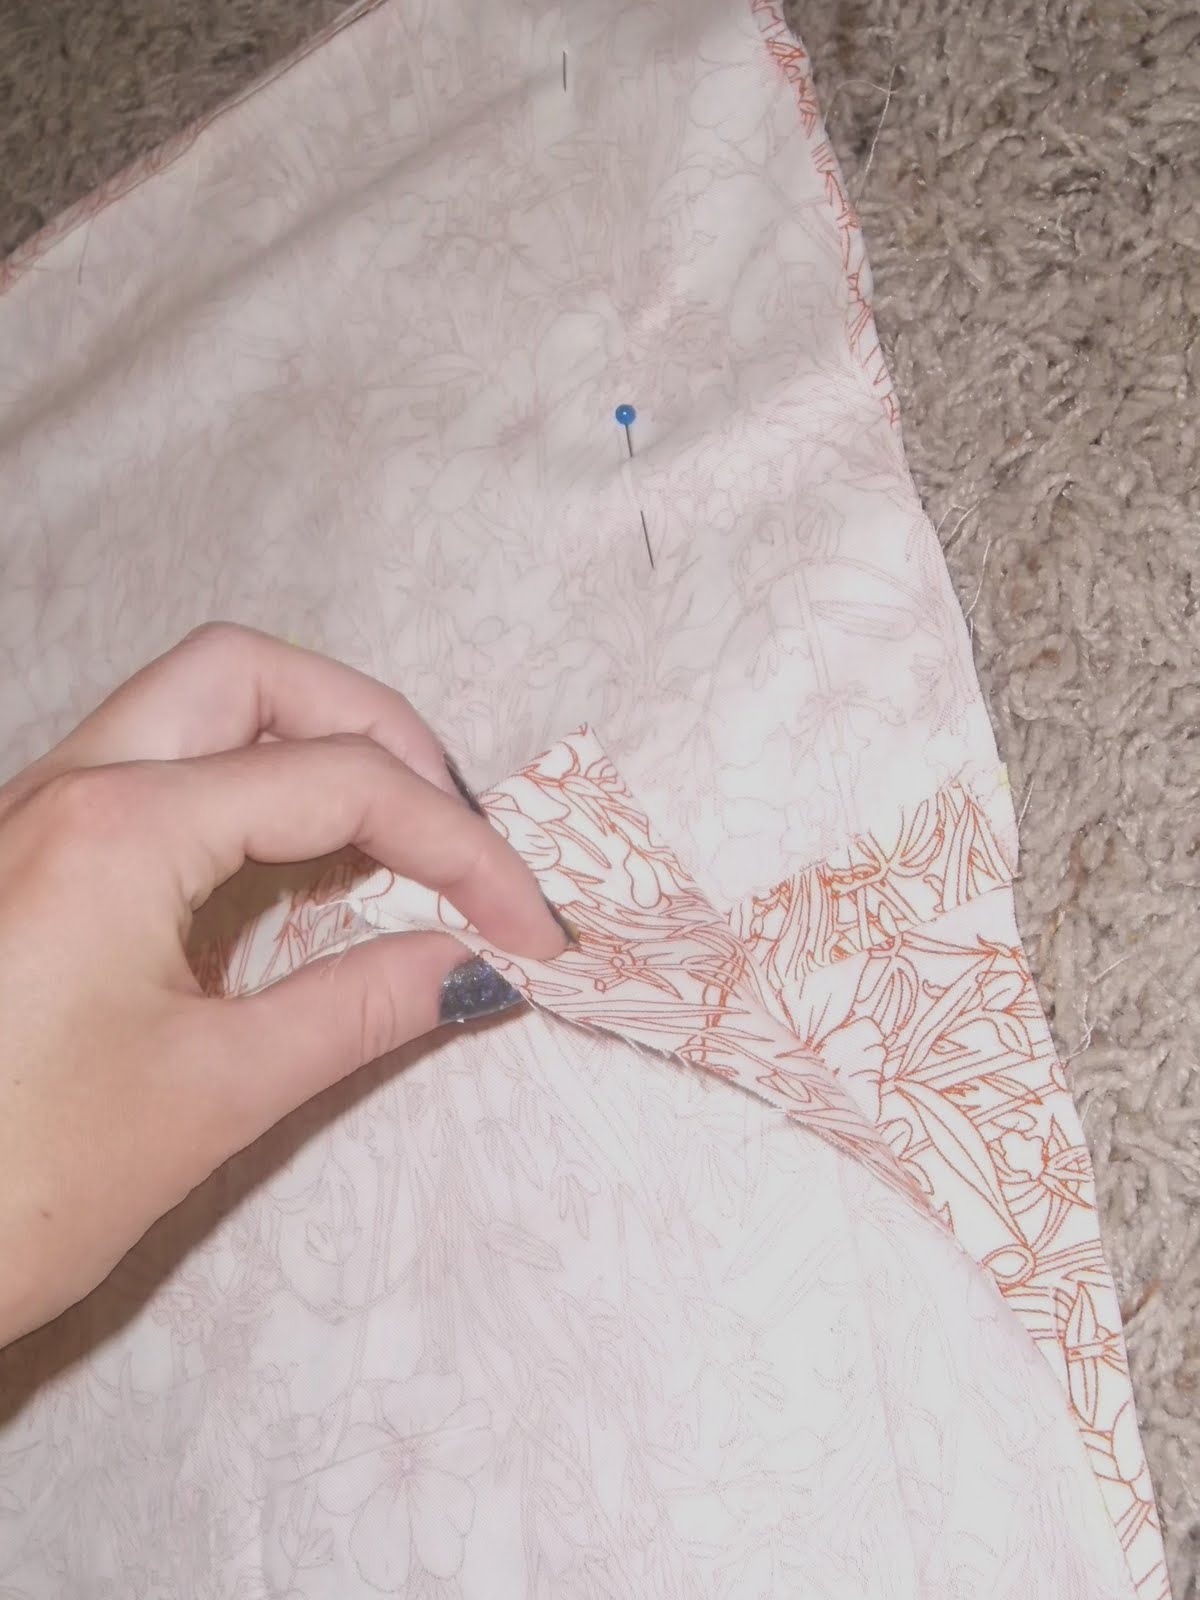
Step 4: Go lock kitten in bedroom because he was trying to eat the pins. Lay your large piece down right side up. Lay the two smaller pieces on top, right side down, so that they are lined up with the big piece on both short ends and one long end. Pin your sides (the long side of the smaller pieces) about 1.5″ in from the edge. A trick with pinning is to put your pins pointy end pointing down on your right side and pointing up on your left side.

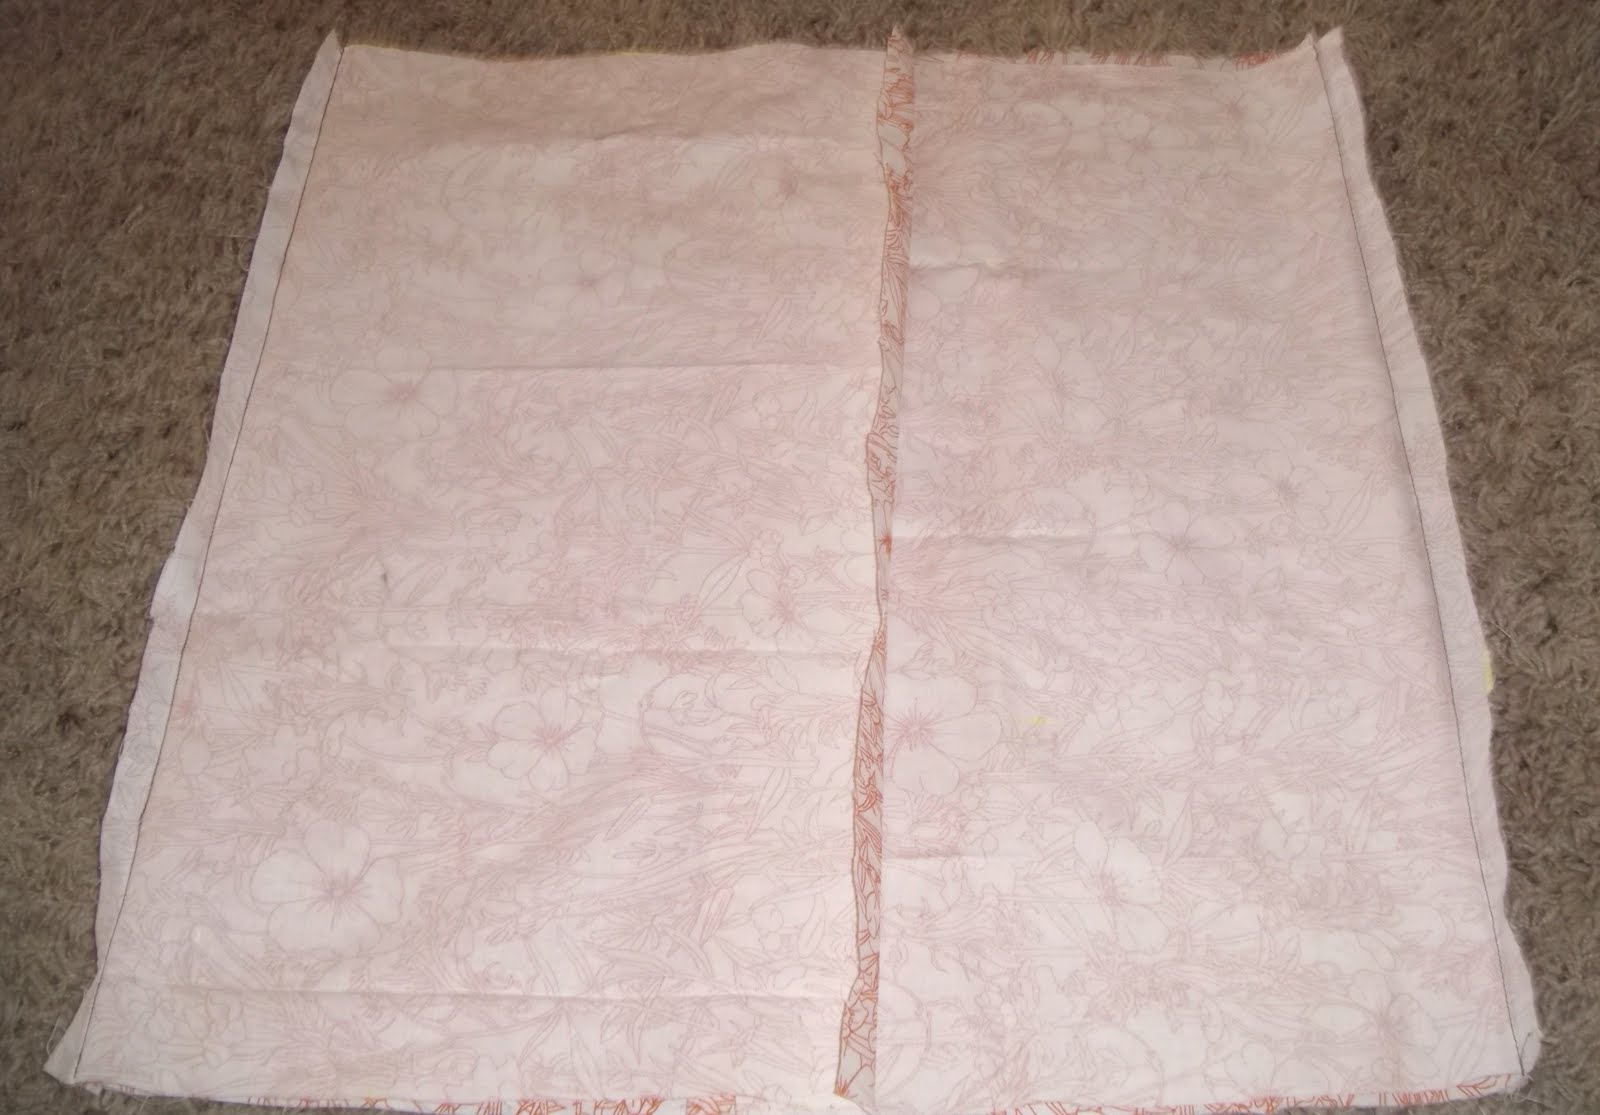
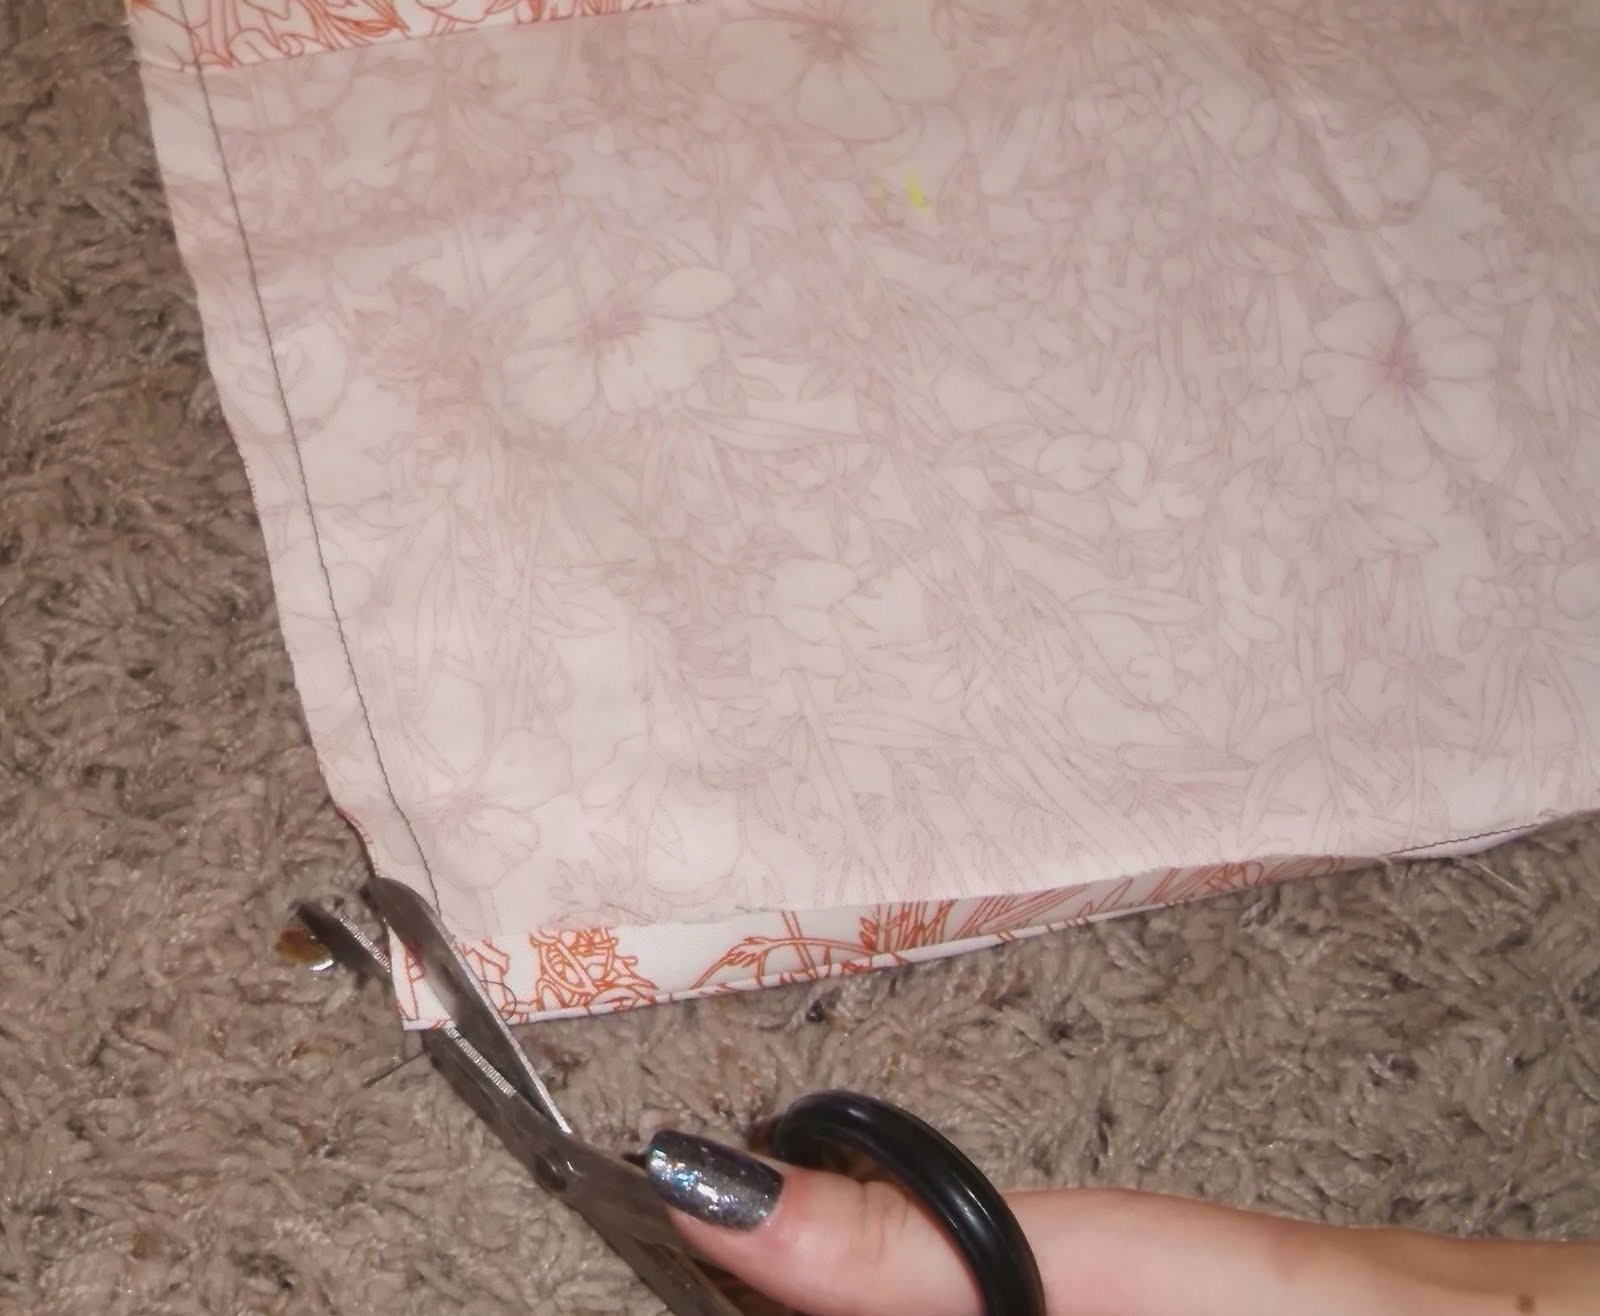
Step 5: Sew along the edges you pinned. You will be using a 1″ seam allowance for this project.
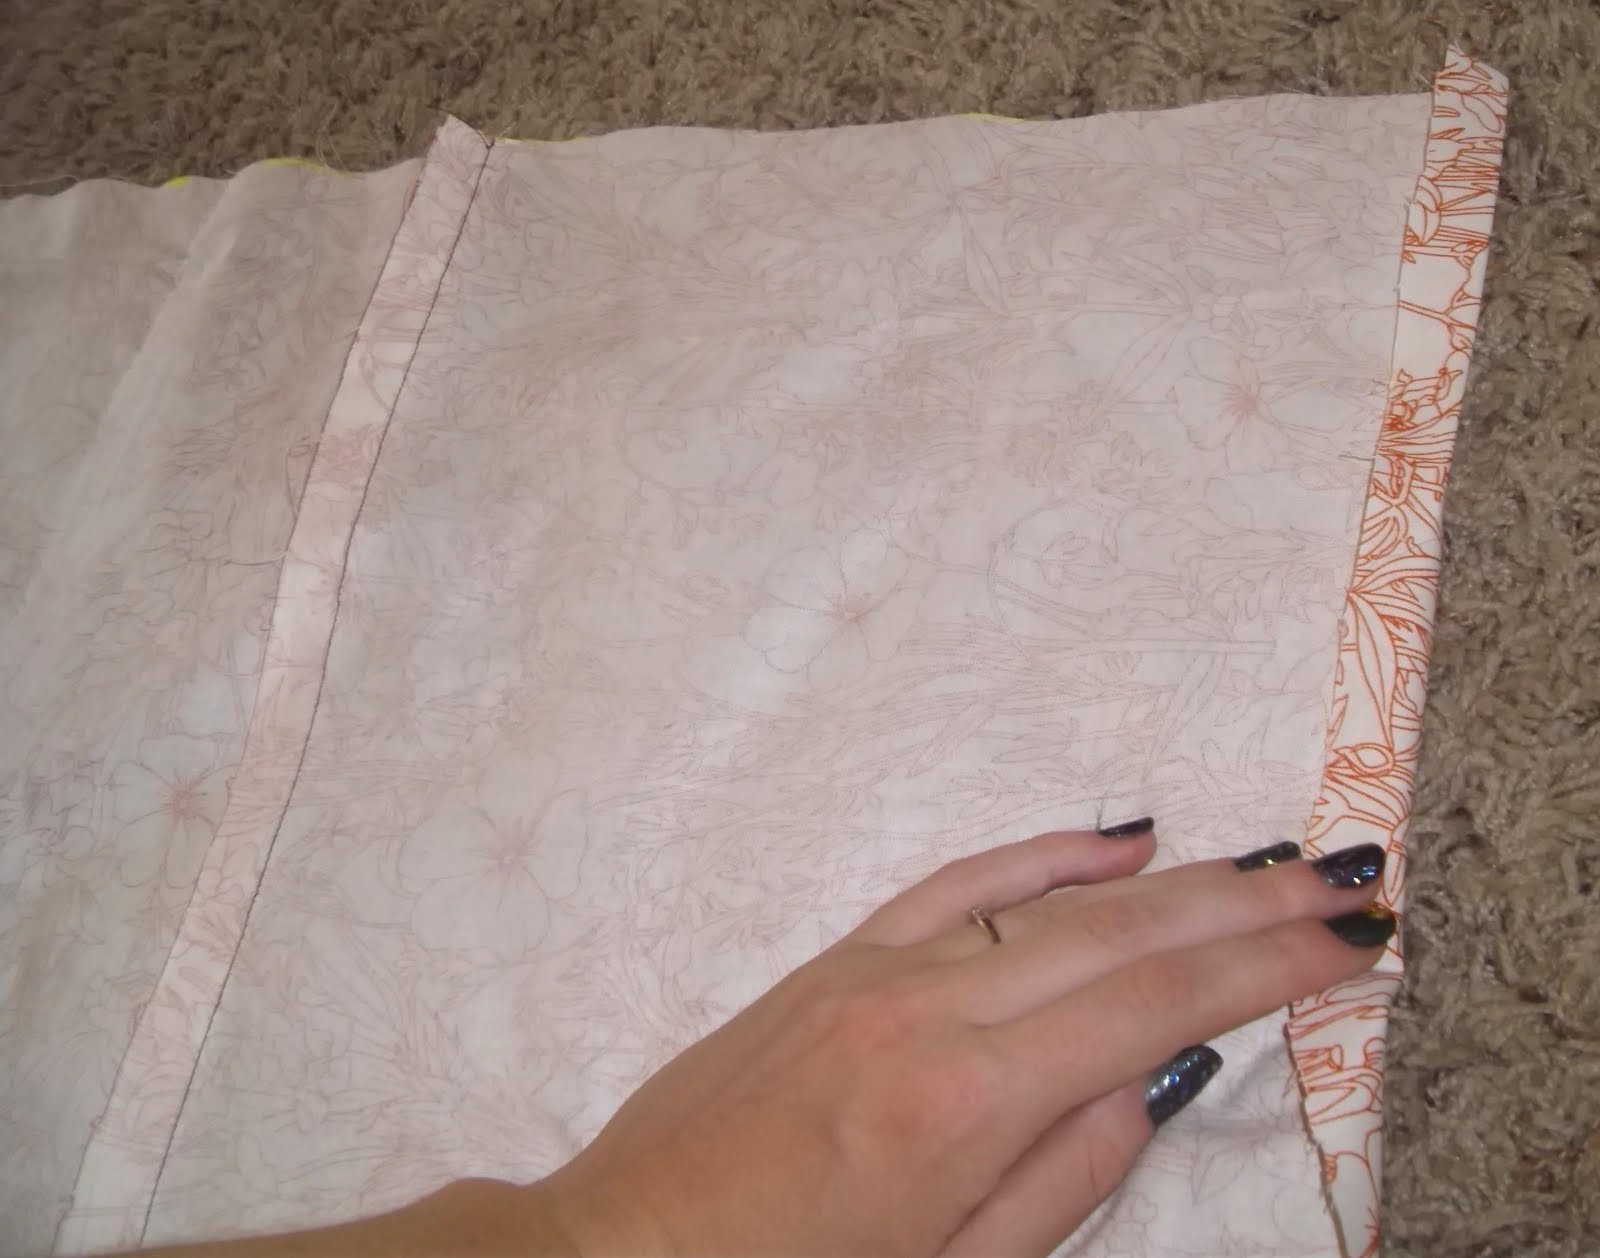
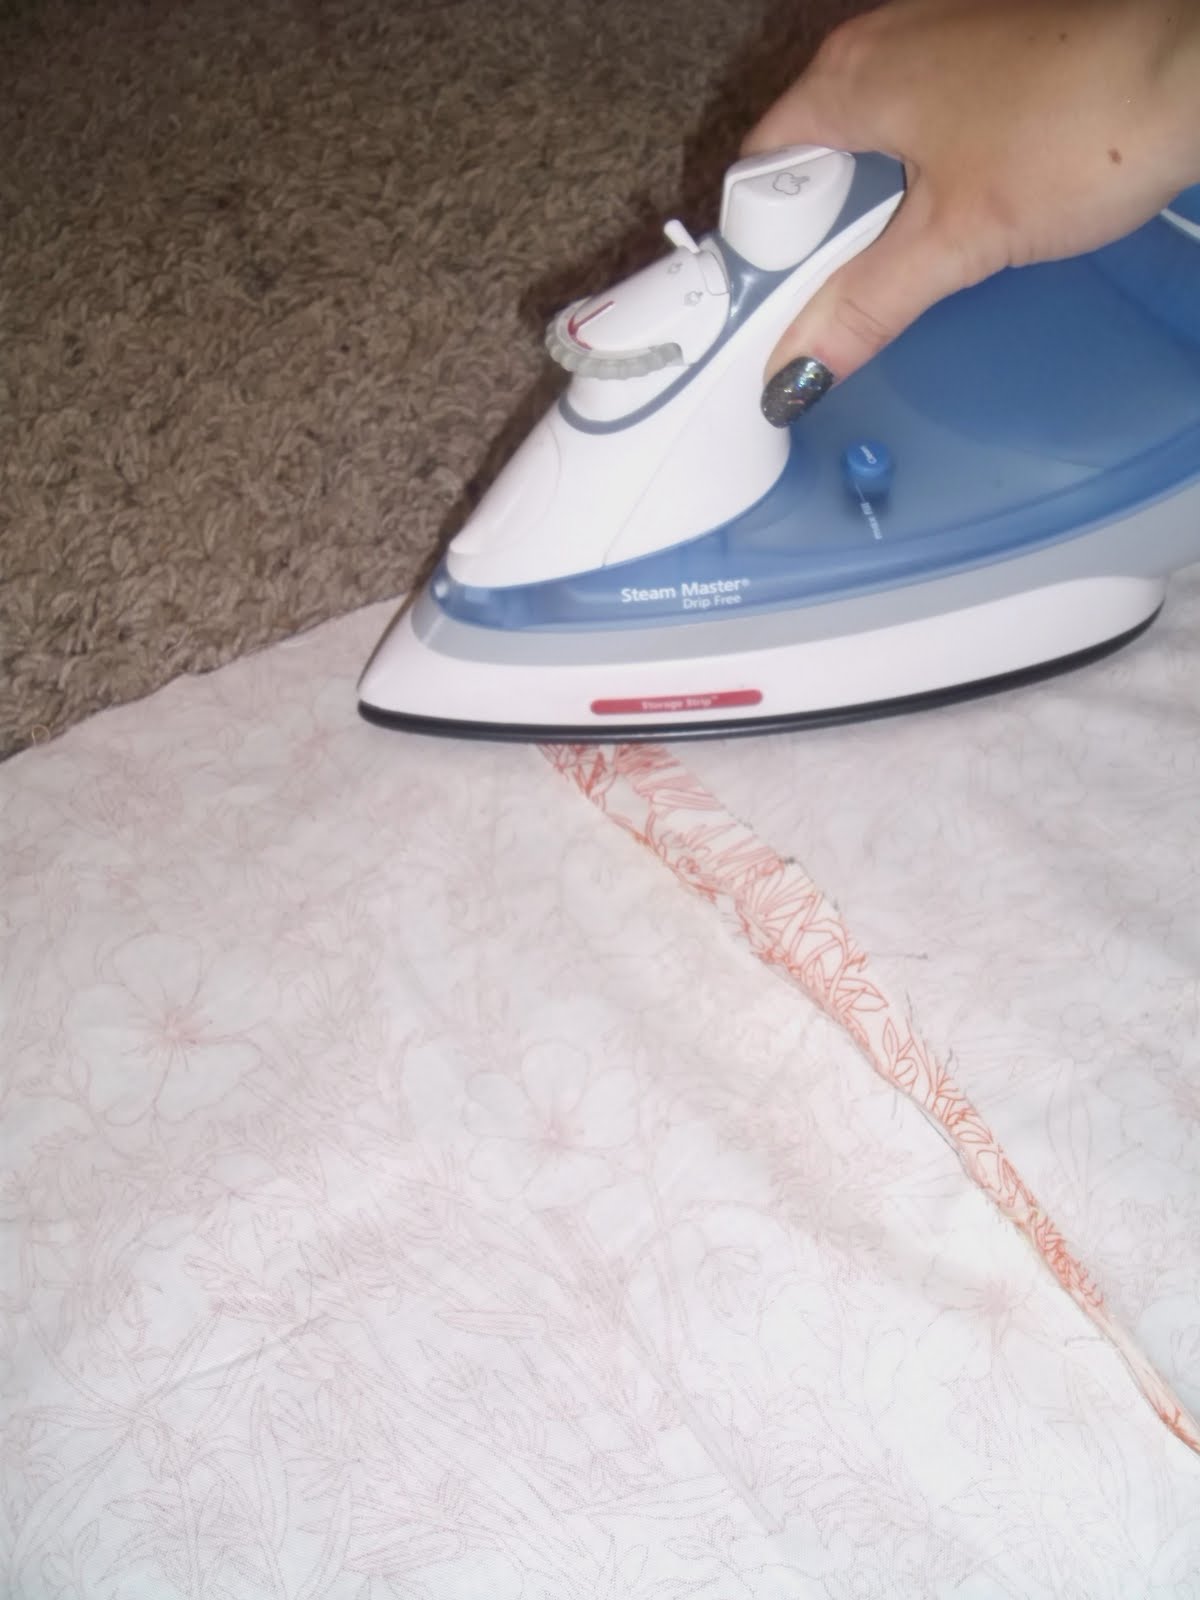
Step 6: Lay your fabric down completely flat (pull the side panels out so that they are flat too), wrong side facing up. Fold in your edges around 3/4″ and use the iron to press them very flat. If you have matching thread and can sew a neat, straight line then you can sew down these folded edges. I chose to leave mine, I just ironed them. Upside to sewing is that they will not lose shape if washed. If you only iron, you will have to re-iron it later after washing.
Step 10: Flip your pillow cover inside out so that the right side is showing. Stuff your pillow in through the envelop opening and you’re finished!
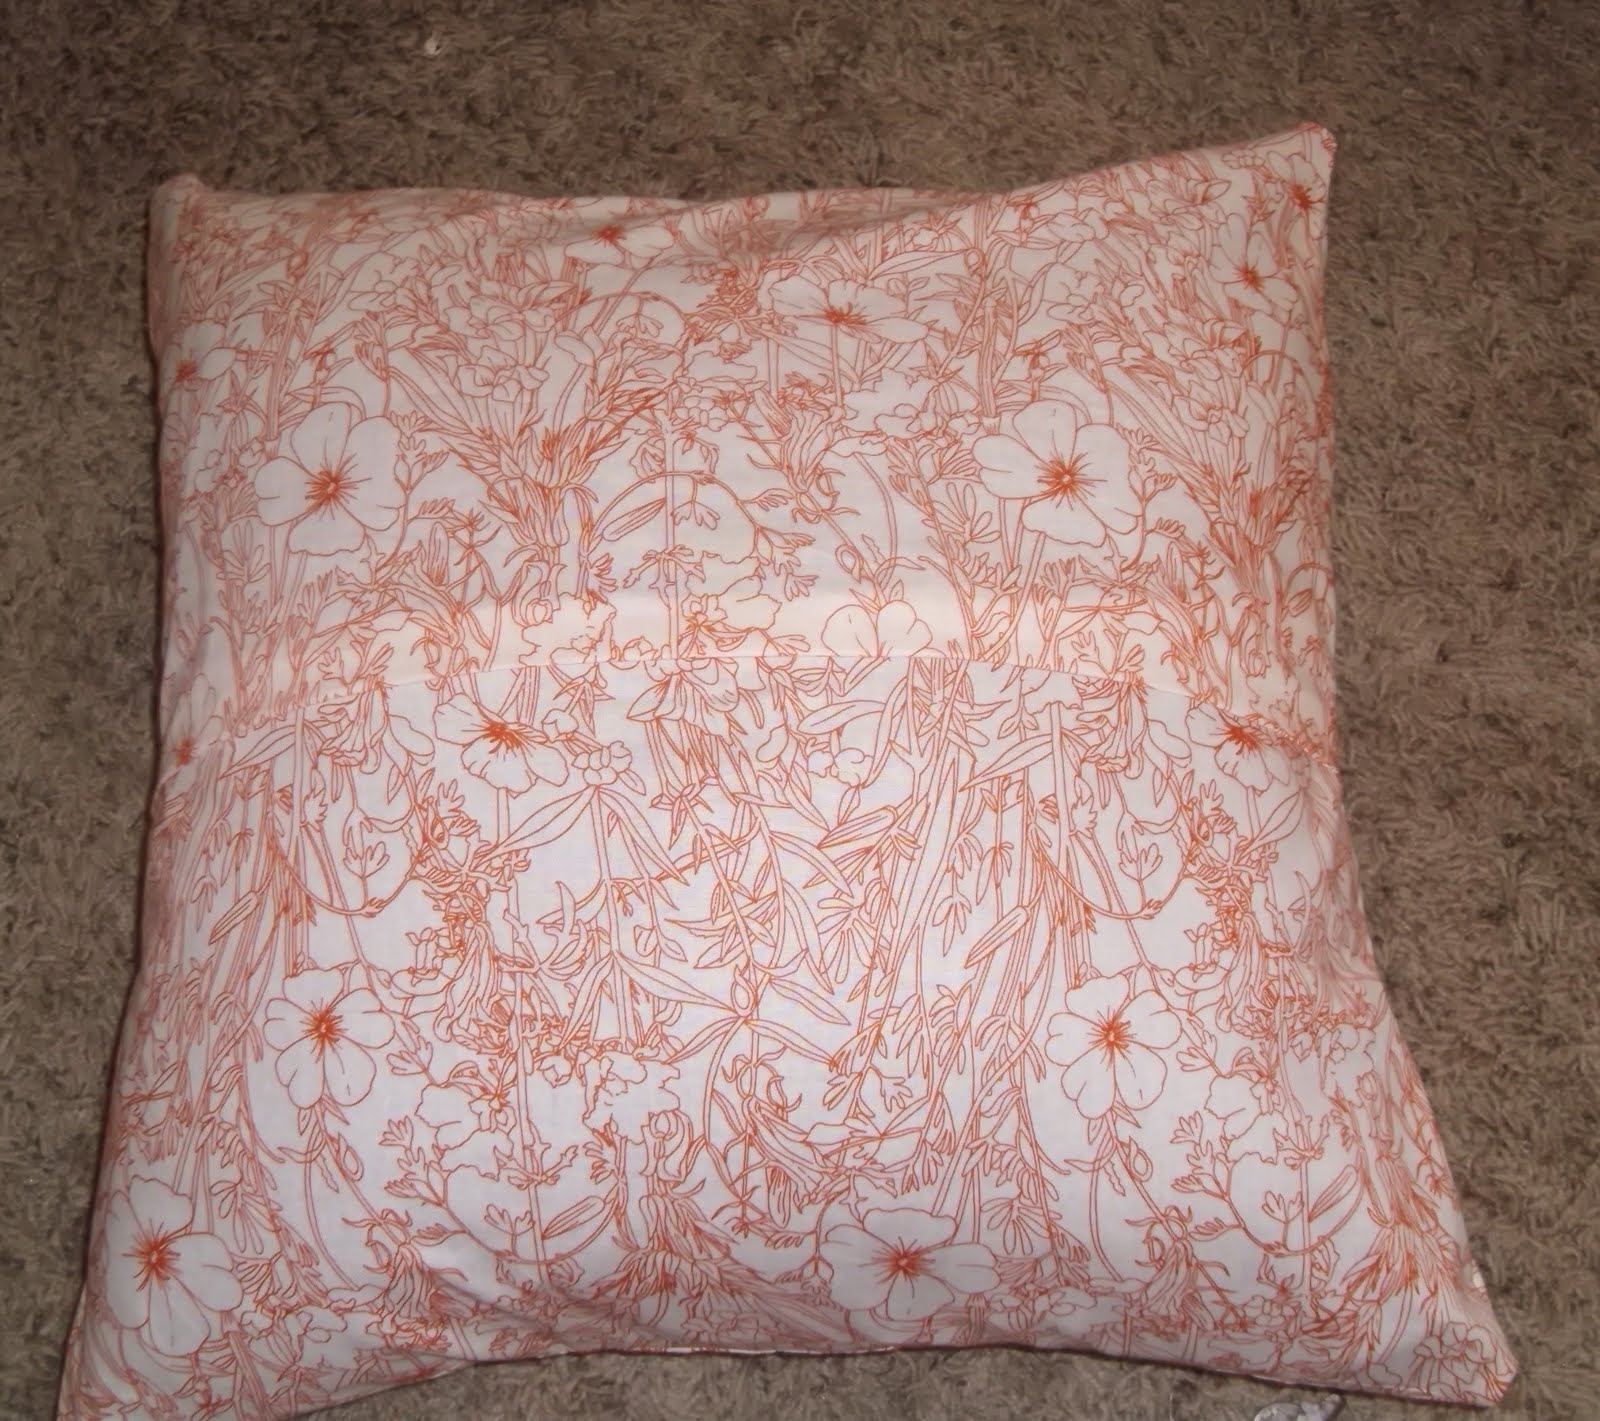
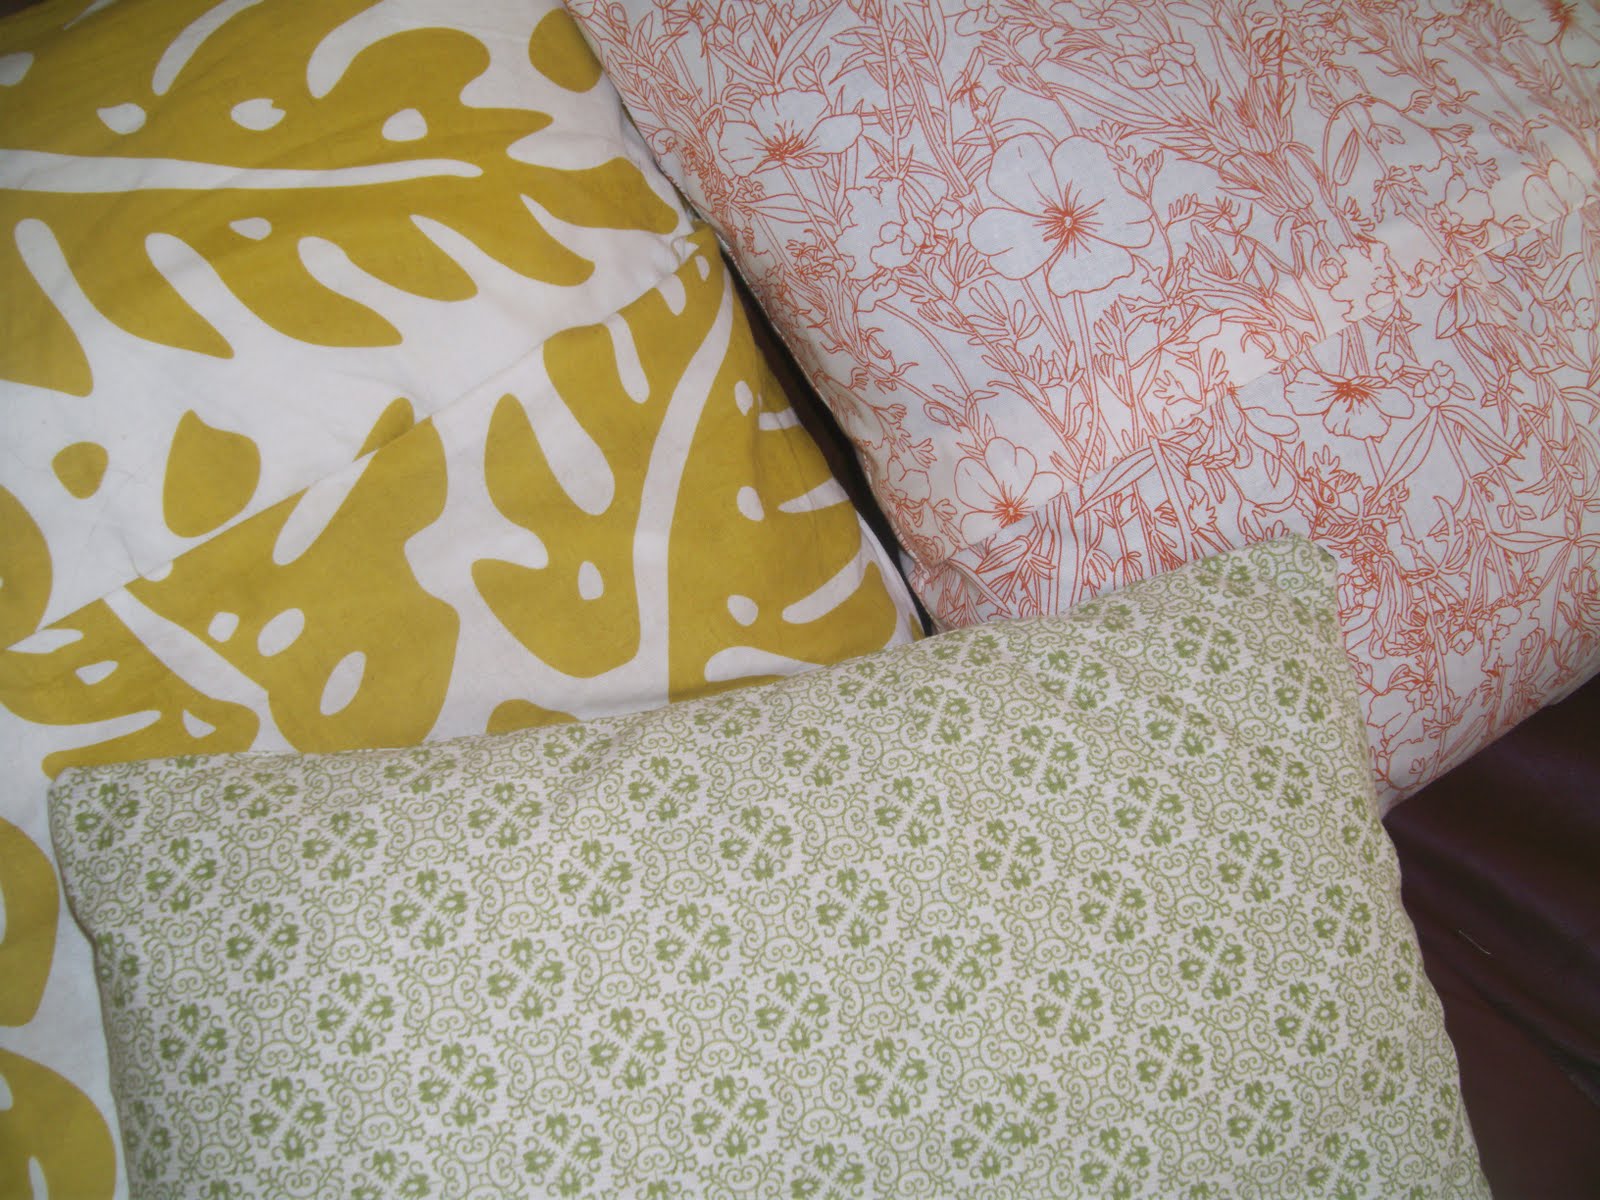
I have made three of these now. The two larger ones are the same size (from Ikea) but over time the yellow pillow really deflated! I will probably take the cover off and sew it smaller. For the pillow in this tutorial, I purposely made it a bit smaller because I knew this would happen.
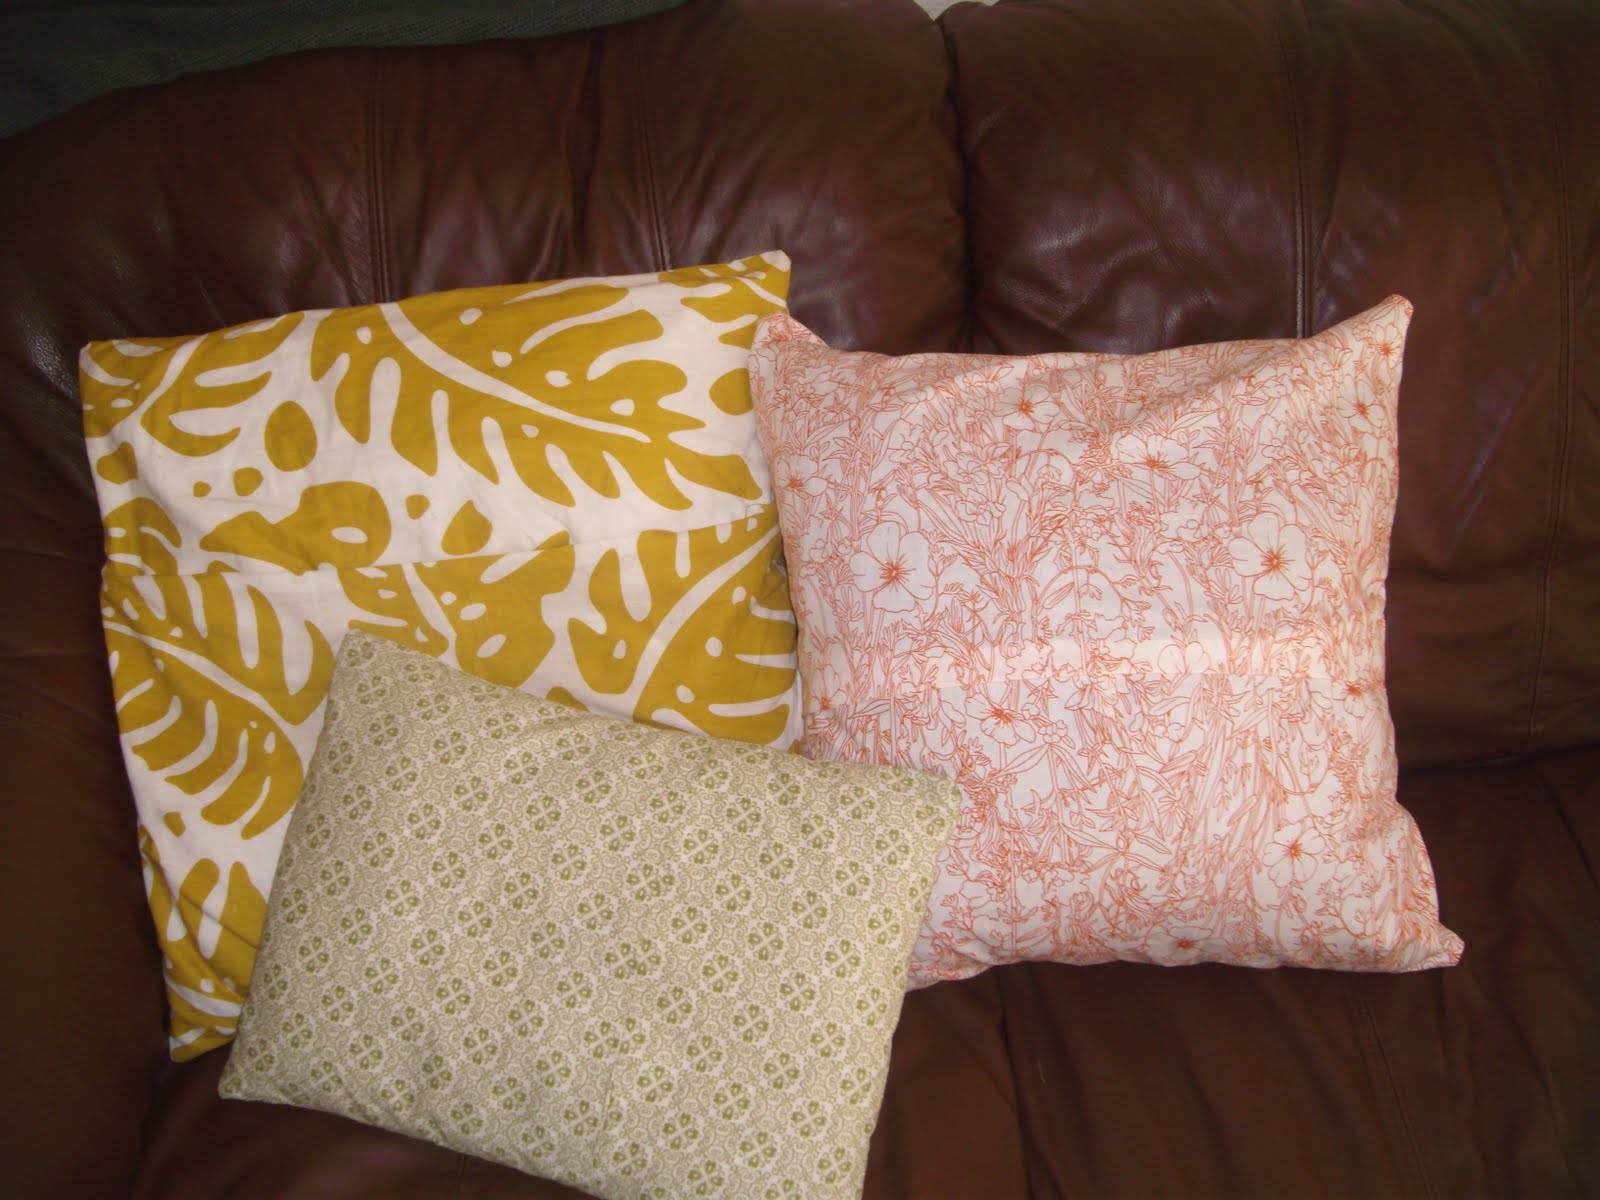
All three fabrics are from Jo-anne Fabric and Craft Store.