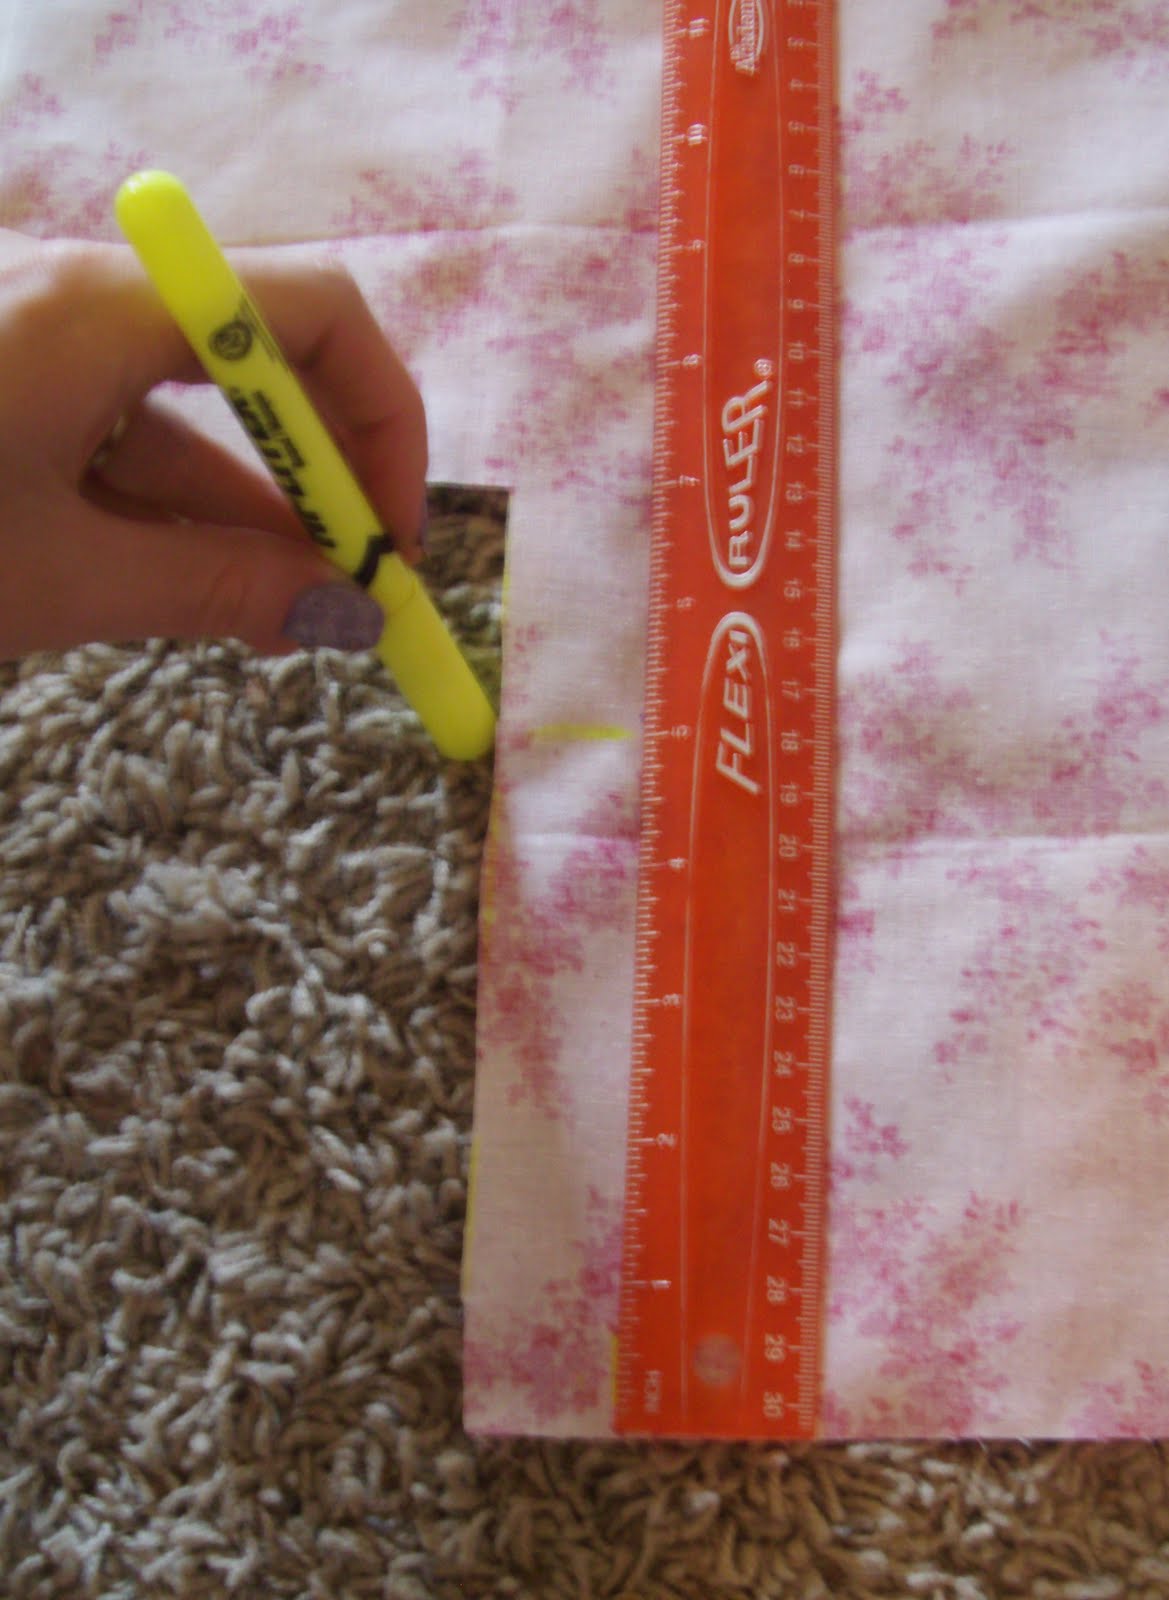
Step 1: Iron your fabric so it’s all smooth and flat. You will want your fabric to be wrong side up for this tutorial.

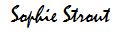
Step 2: Measure the width you want. I made mine 5″ but you can do any size depending on how big or small you want your bow to be. You are creating a rectangle shaped piece of fabric.
Step 3: Measure the length (height in this pic) you want. I made mine 7″. Just remember that the length will determine how fat or skinny your bow is. If you want it be skinnier, add more length.

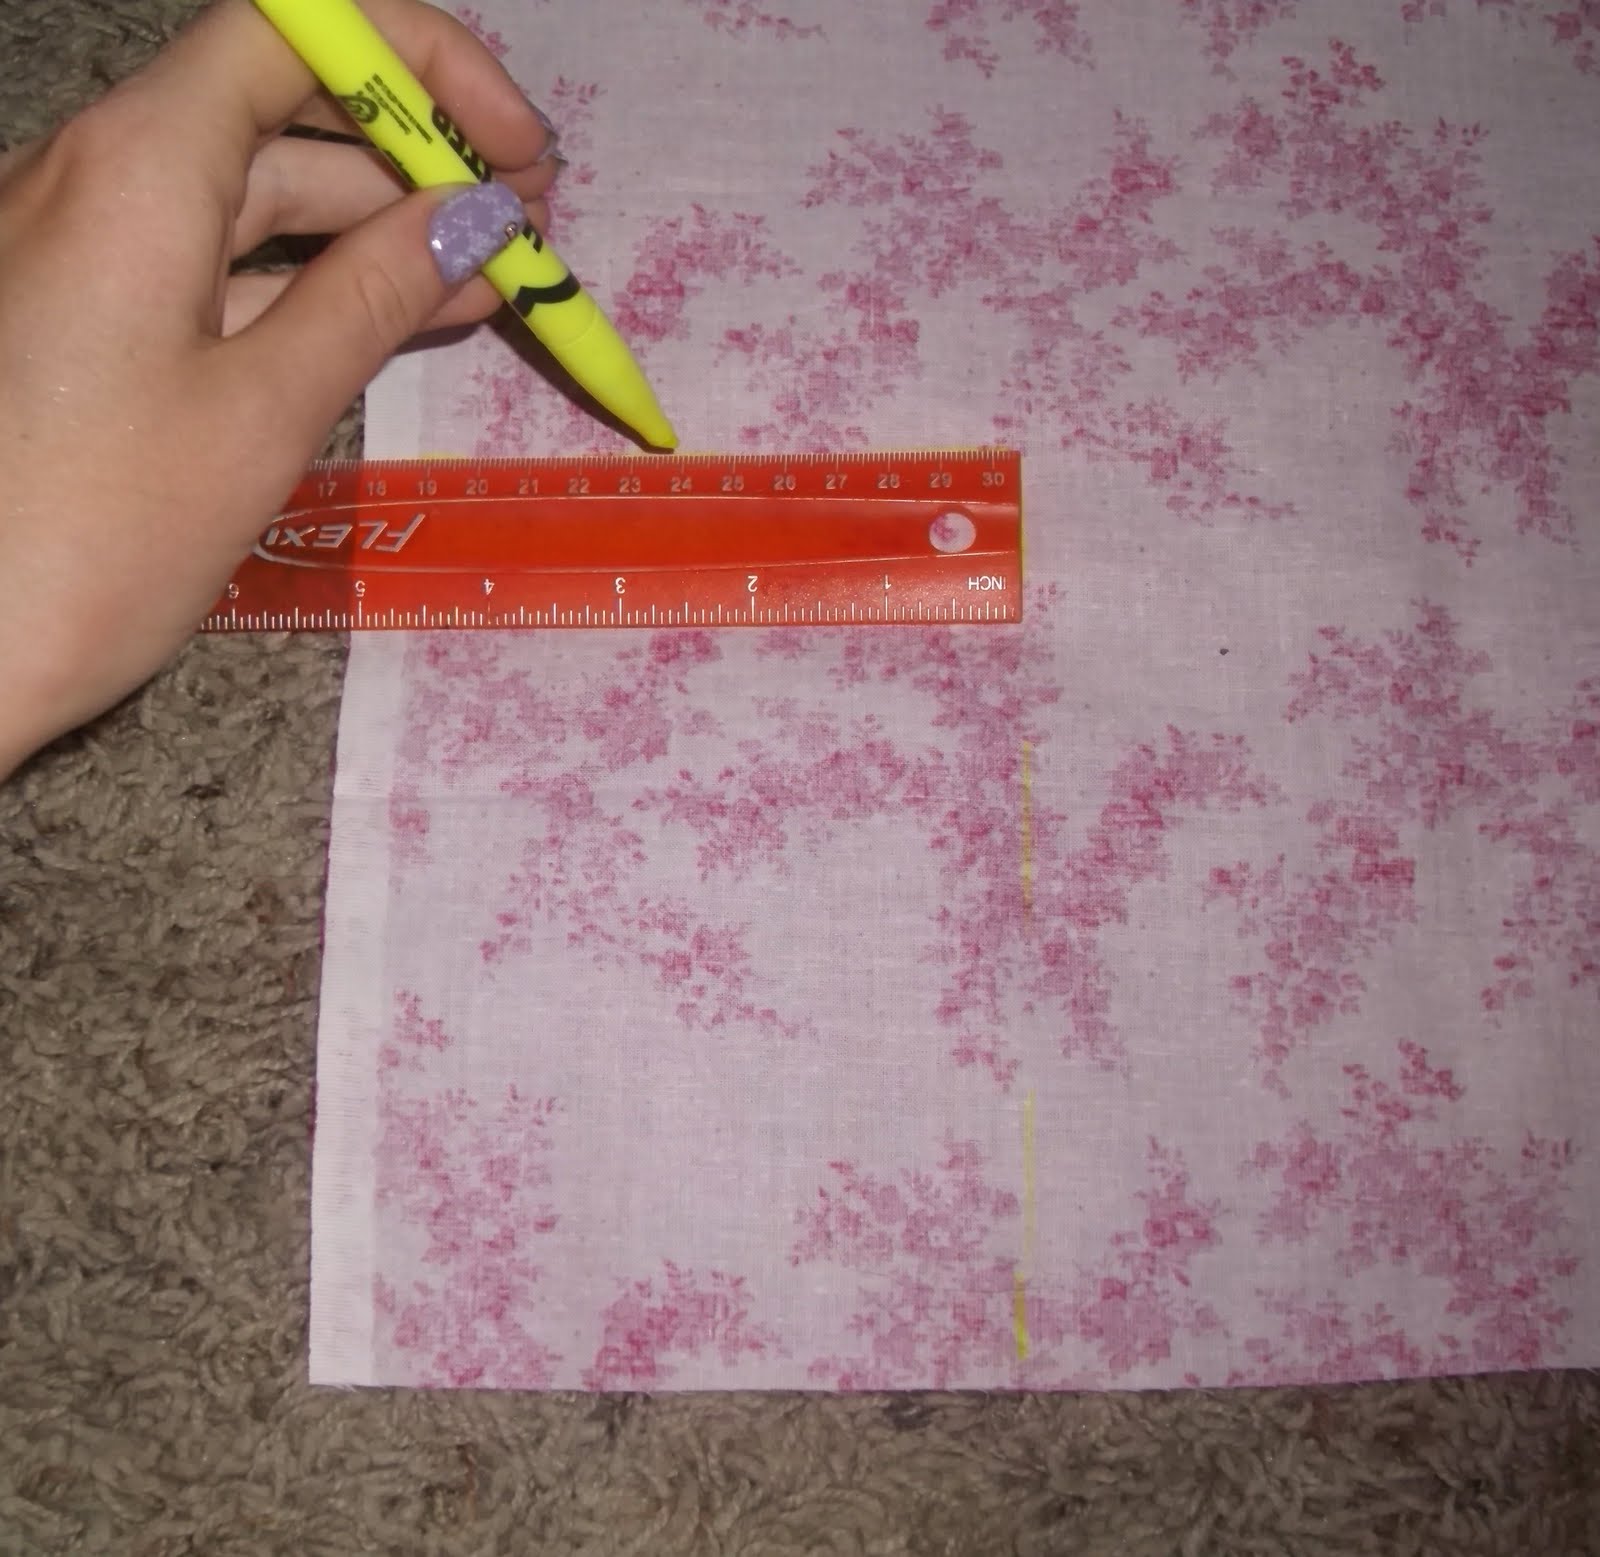
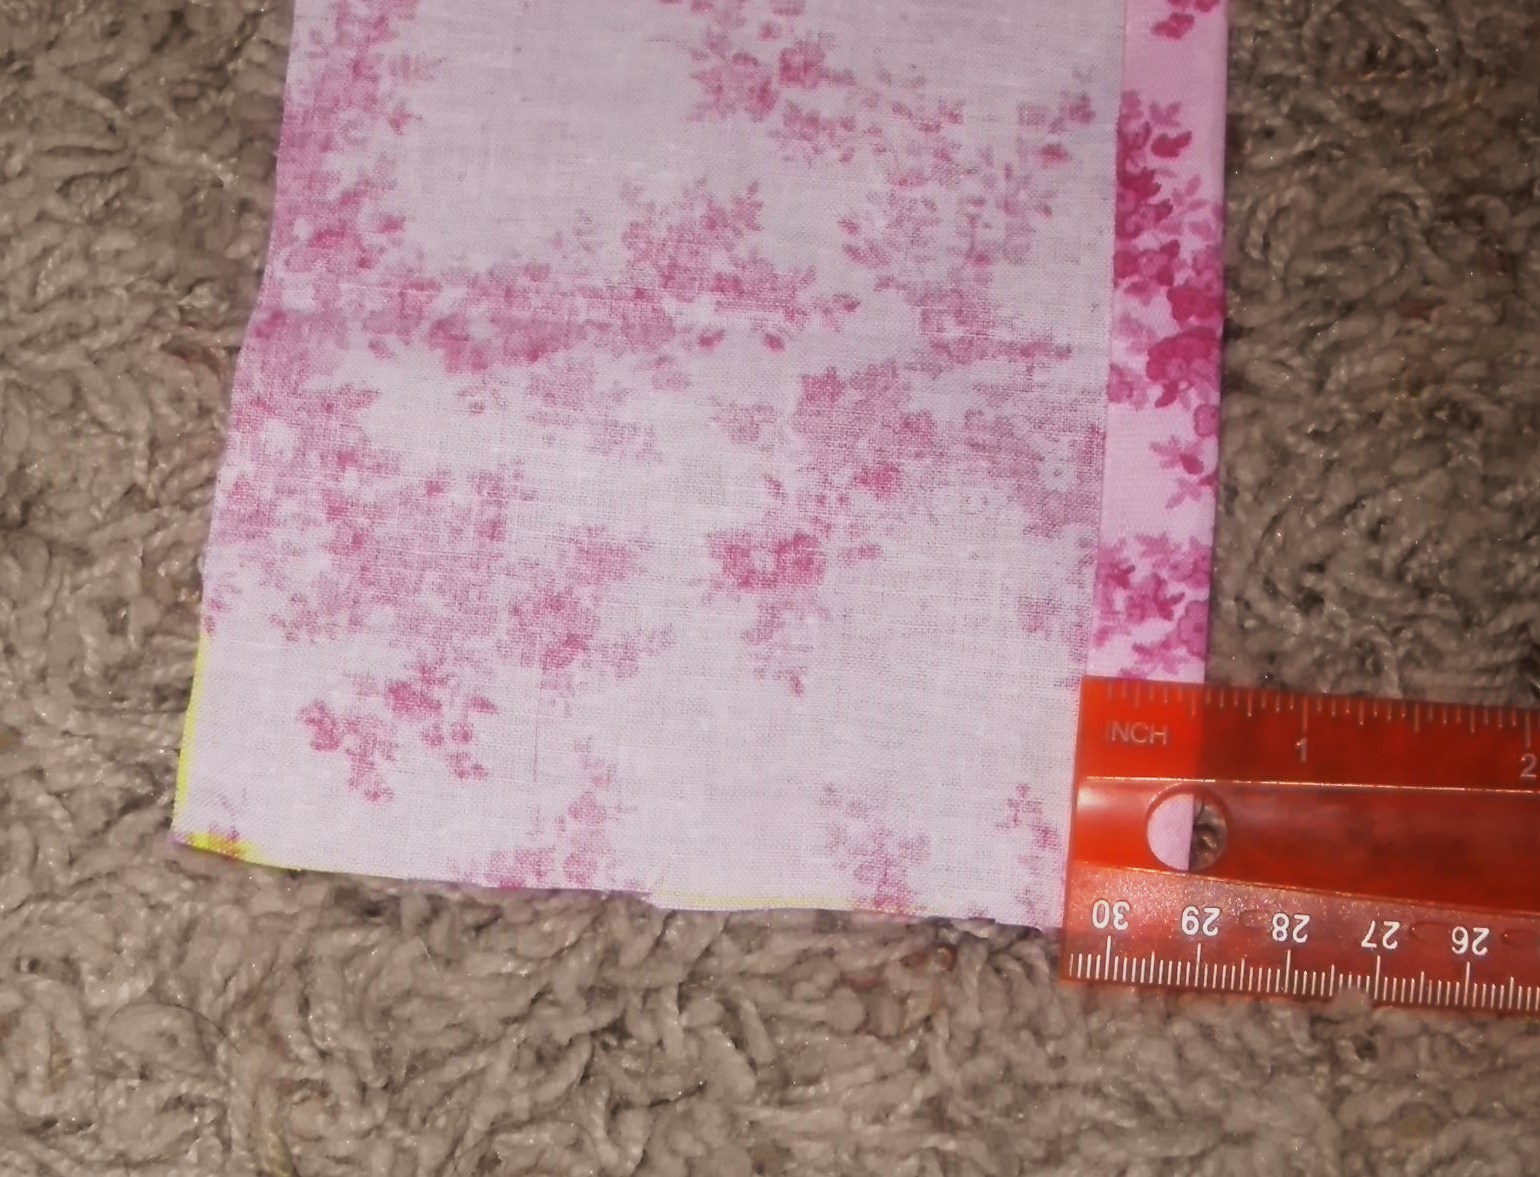
Step 4: Now we’re going to make a long skinny piece. Measure the width. Mine is 1″.
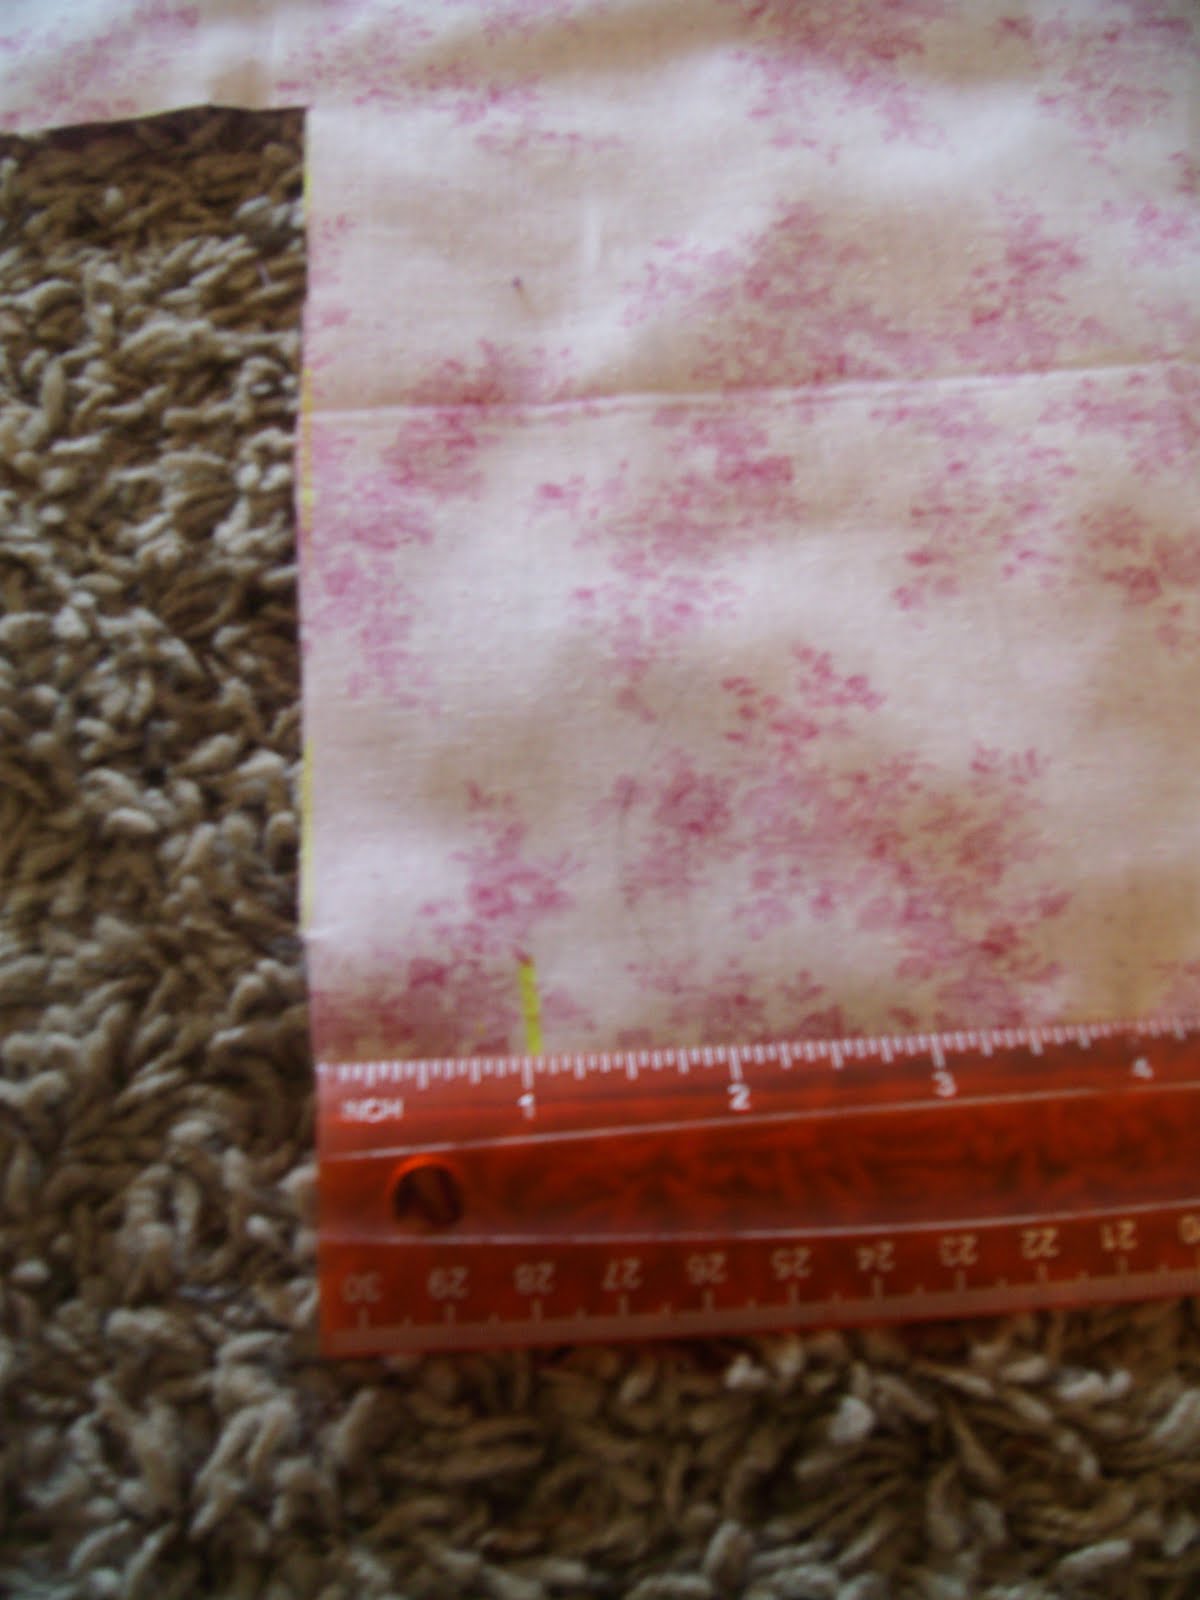
Step 5: Measure the height. Mine is 5″.
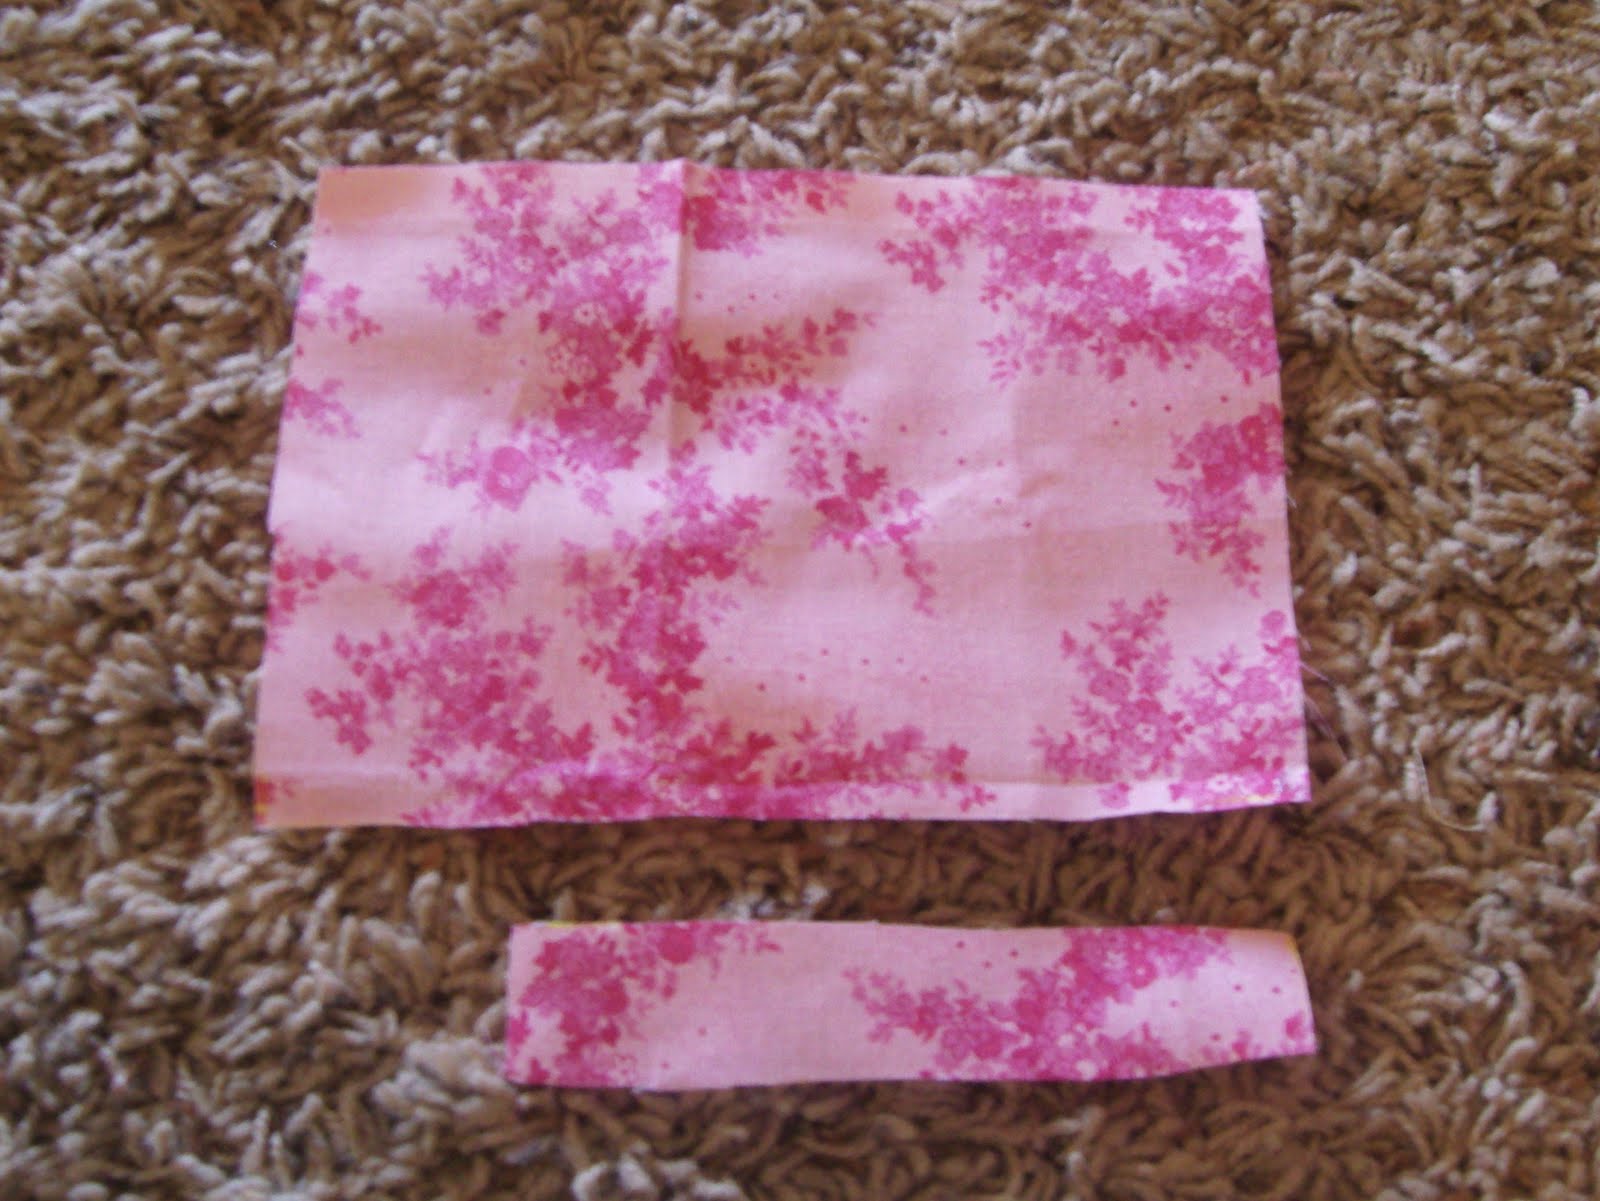
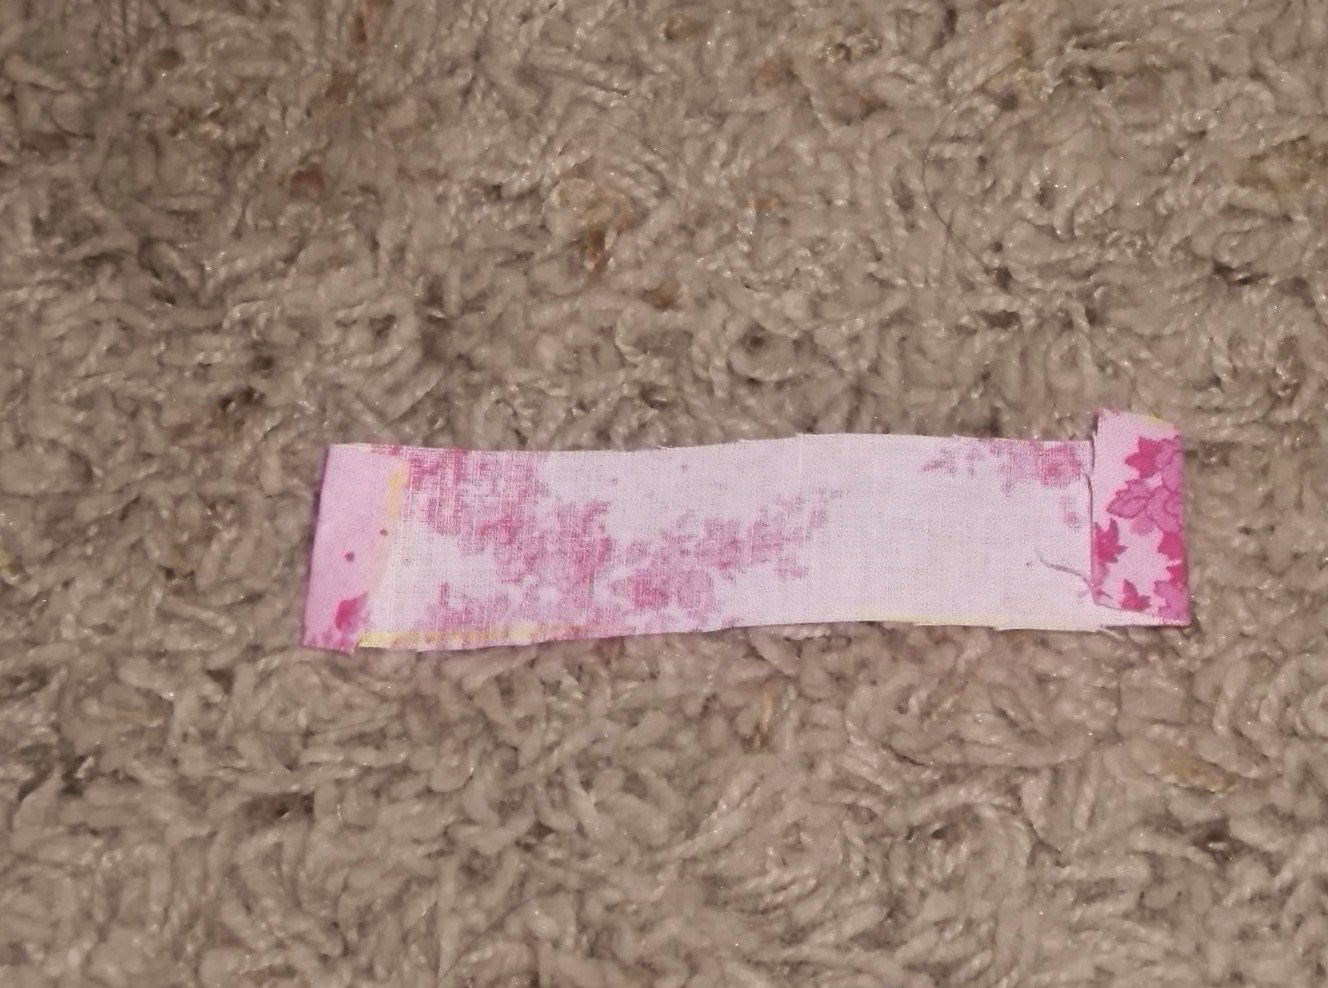
Step 6: Cut those two pieces out. It should look like this.
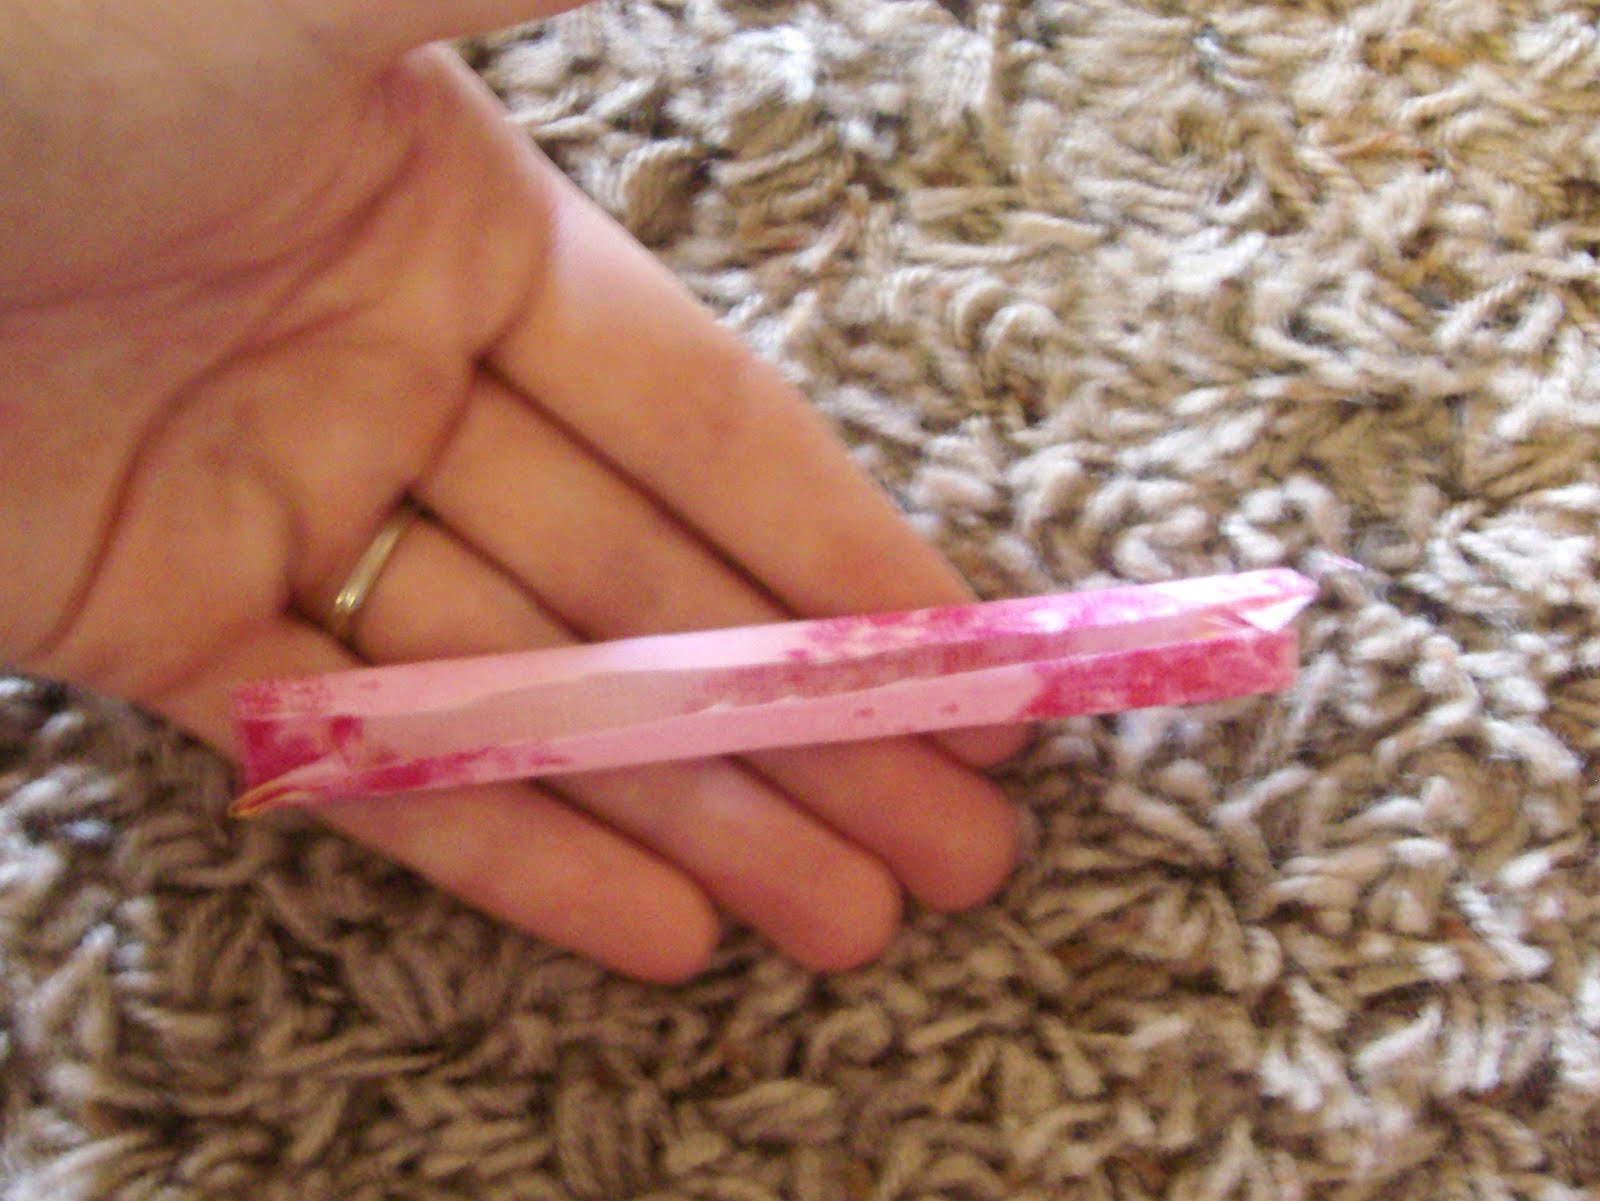
Step 7: Take your large piece of fabric. Fold your long edges in about 1/2″. Iron this flat.

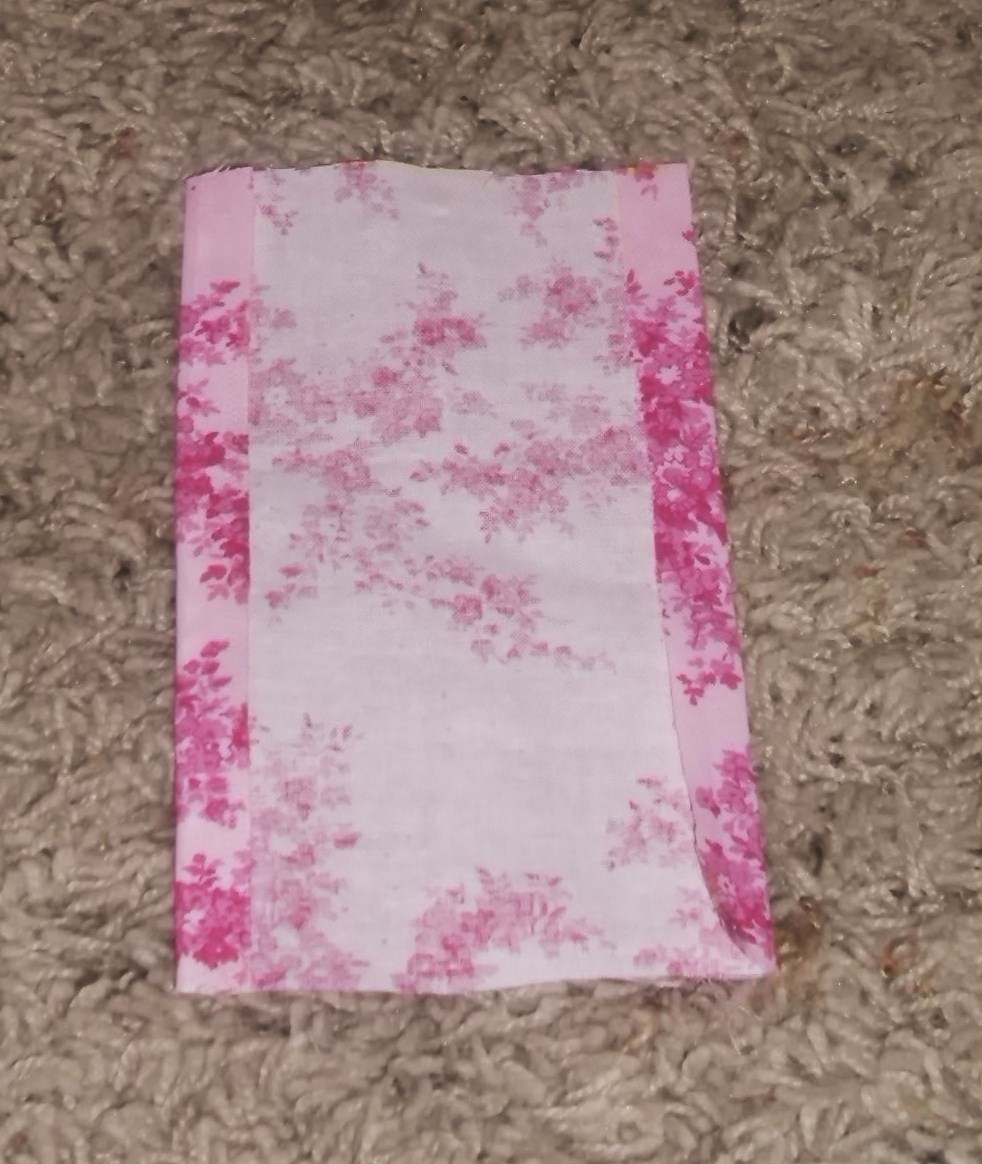
Step 8: Fold the ends (not the ones you just folded) in so that they meet in the middle. Iron these flat.

Step 9: Fold in the short ends of your small piece and iron.
Step 10: Fold in the long ends to the middle and iron.
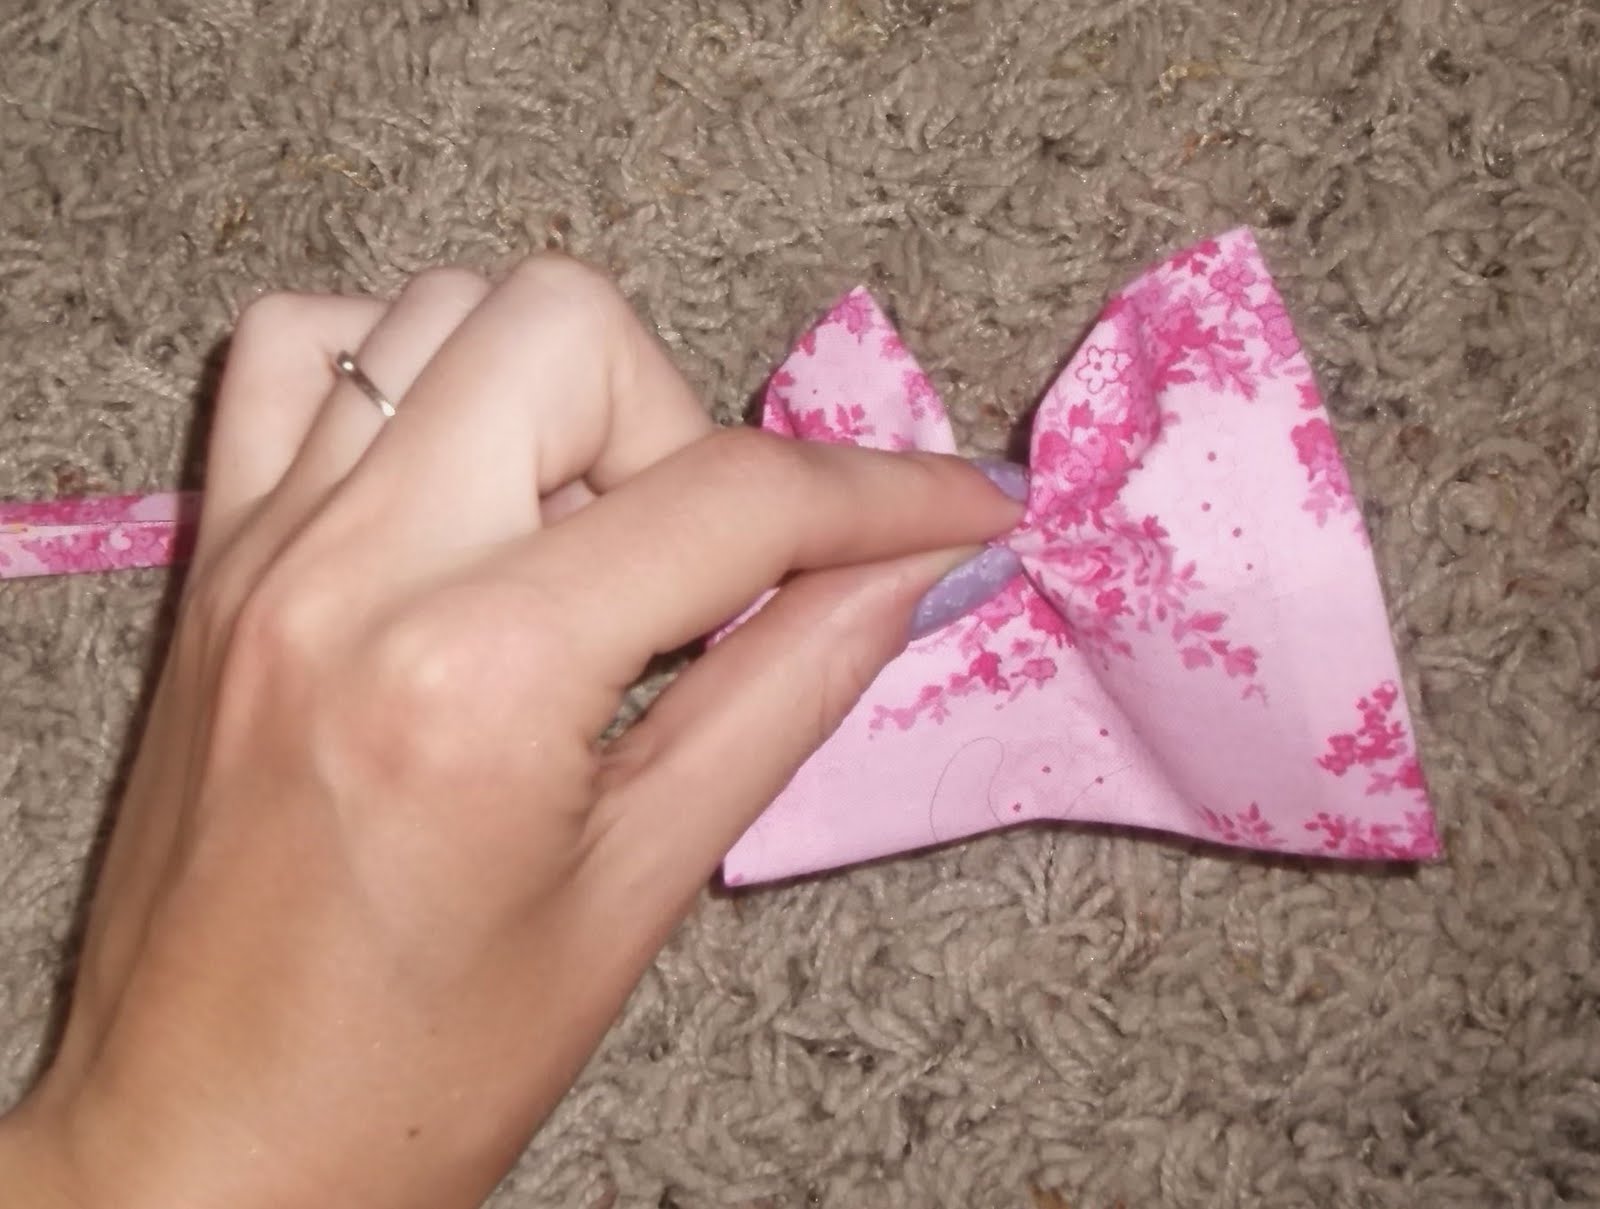
Step 11. Now you want to pinch your rectangle in the middle, scrunching it. It will form a bow shape. This can be a bit tricky but try to get the sides to look even.
Step 12: Use your glue to attach the folds. It doesn’t have to look perfect as we are going to cover it up.


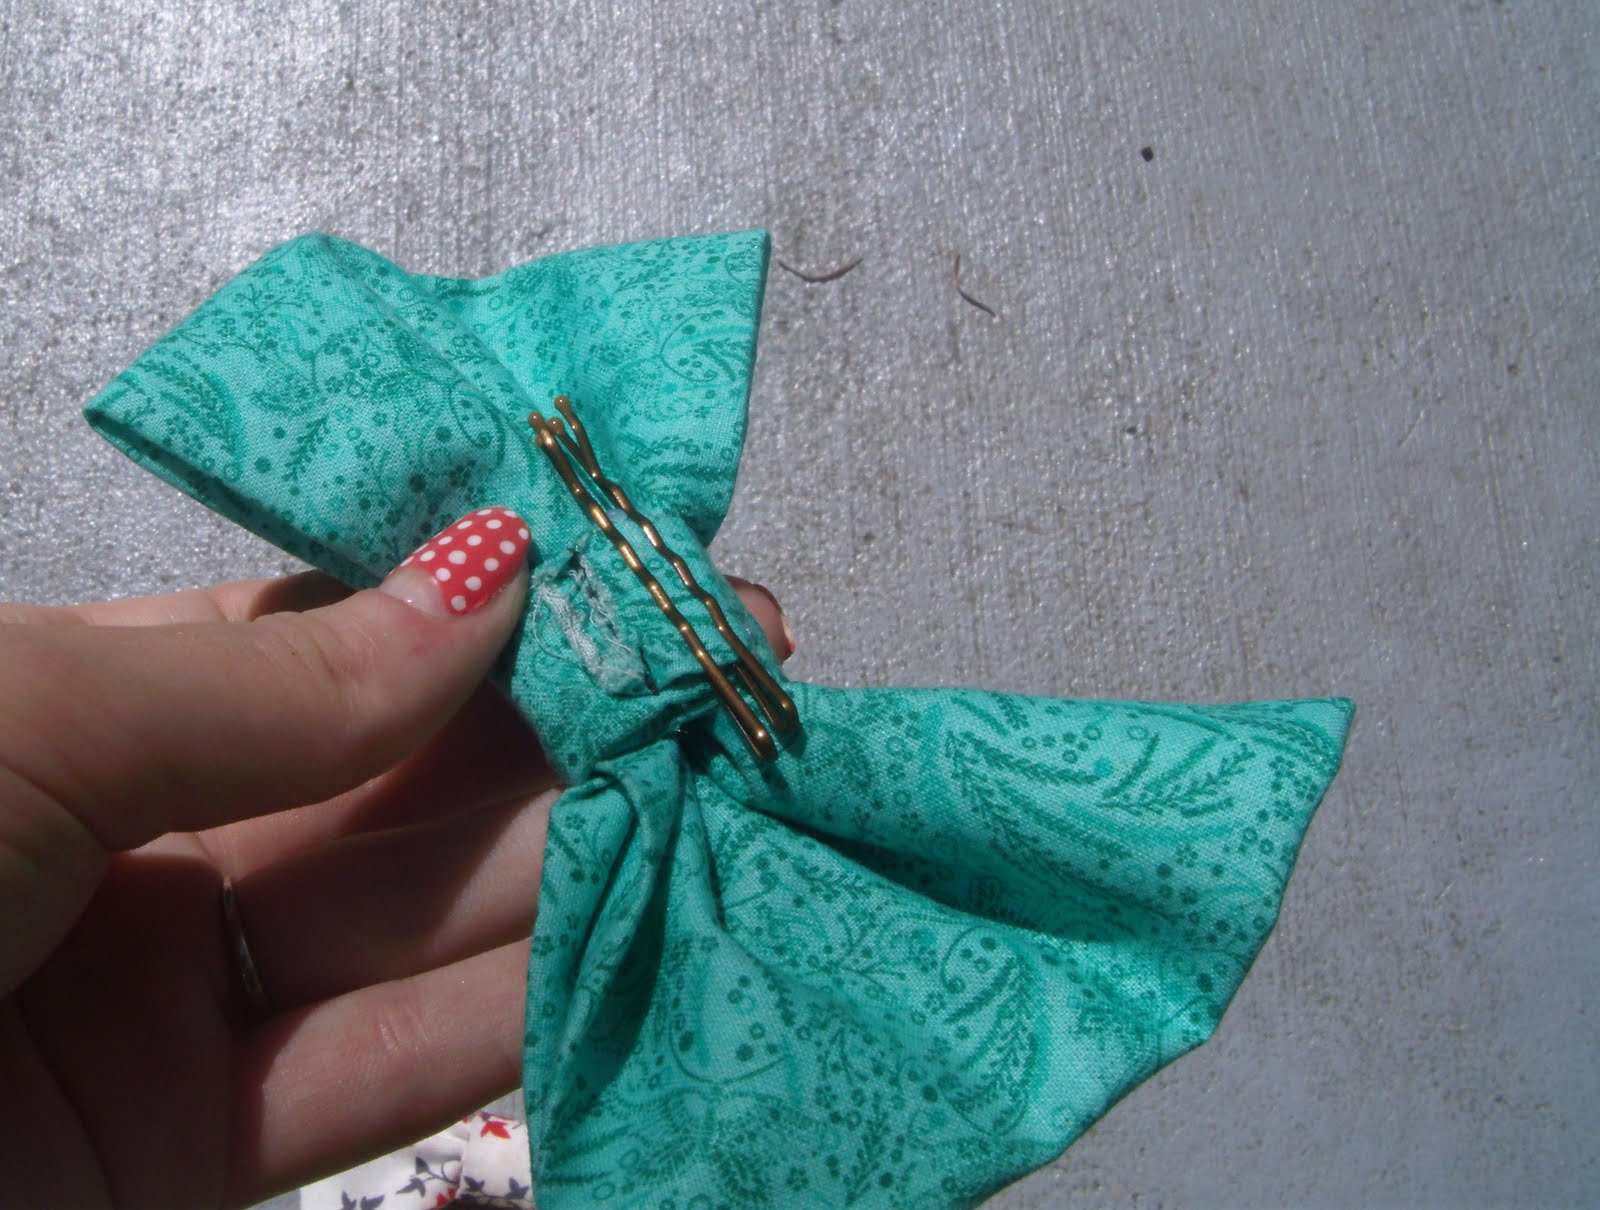
Here you can see how I attach bobby pins. For the smaller bows, I just use one. The bobby pins are not glued on so I can take them out as I please. Another option is to glue a hair clip to the back! You could also use a safety pin and wear this on a shirt. Another option is to loop a skinny belt through it; this would work with larger bows.