Step-by-Step Instructions for Making a Fabric Drawstring Gift Bag
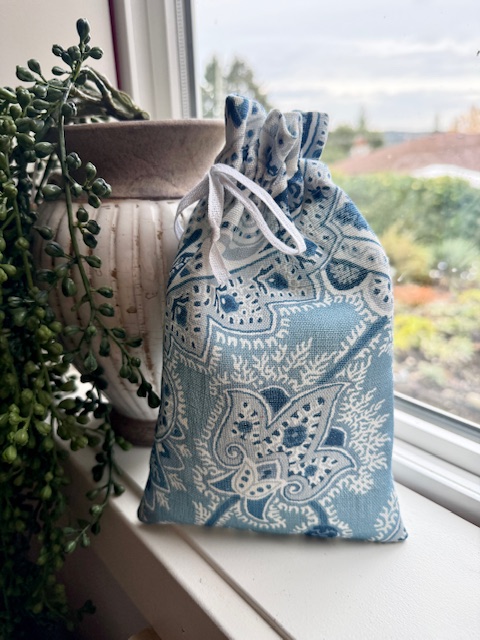
If you are wondering how to make a fabric gift bag, you are in the right place! I have been making fabric gift bags for many years, and this is my favorite way to make them. The drawstring pulls the opening closed nice and tight, and they can be made in any size you want. Cotton and linen fabrics that are not too stiff work best. Remember to pre-shrink you fabric before you cut your bag out, so that it will be machine washable. Let’s get started!
1. Cut out your gift bag and Finish Edges
For a small bag that measures 16cm x 23cm, I cut out a piece of fabric 32cm x 29 cm.
Finish all the edges by serging or using pinking sheers.
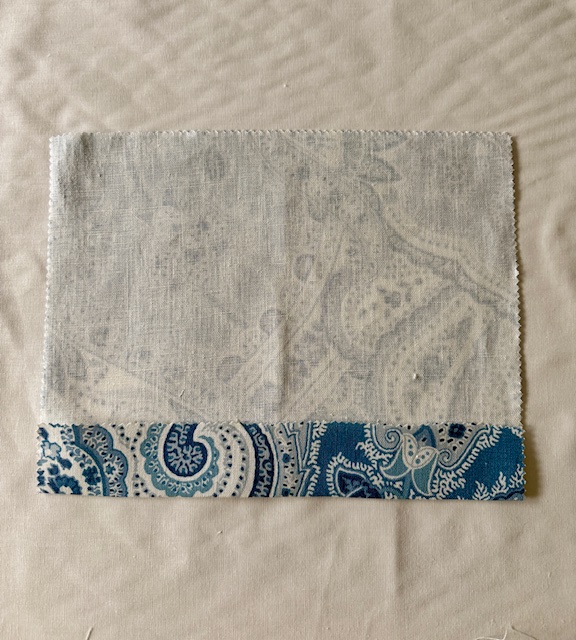
2. Press the top edge
Press the top edge 5 cm to the wrong side of the fabric.
3. Fold in half
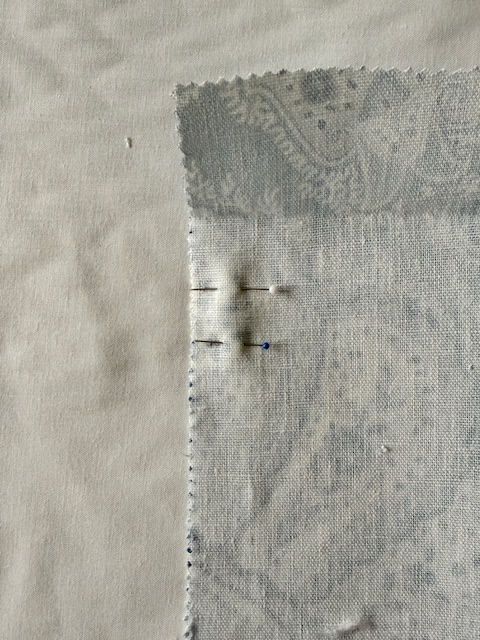
Fold the bag in half, right sides together. Mark the opening for the drawstring 2.5 cm and 4.5 cm beneath the fold line.
Stitch the side, leaving the space between the markings unstitched. Stitch across the bottom.
4. Press the seam allowance open and stitch top.
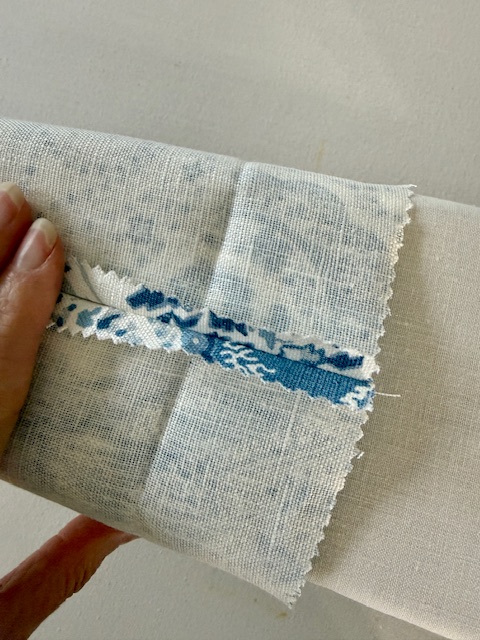
Press the seam allowance open on the side.
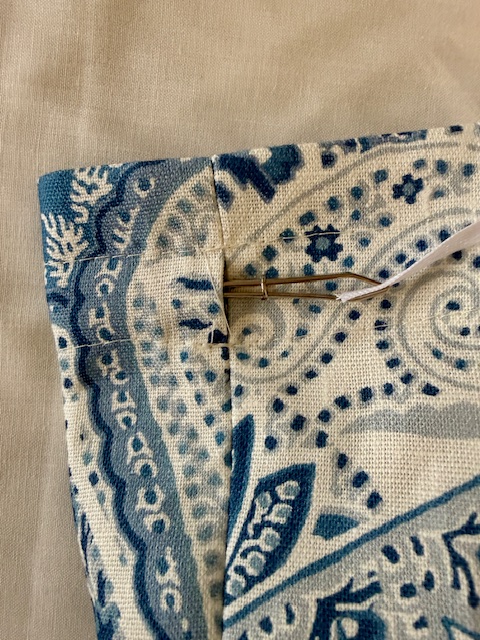
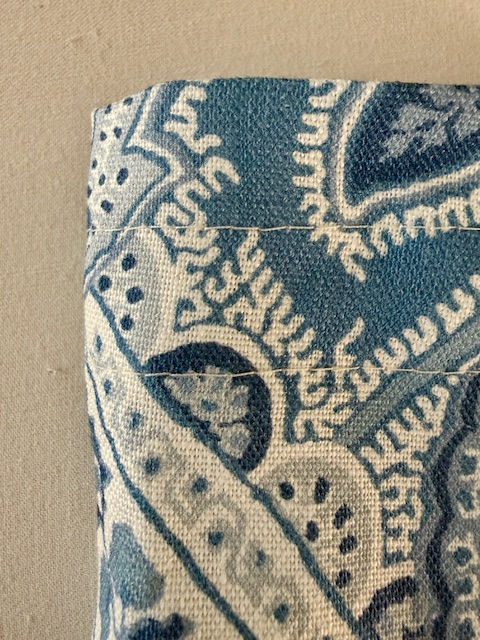
Fold the top down on the pressed edge and stitch 2 rows along the top – one above the drawstring opening, and one below it.
6. Insert the ribbon
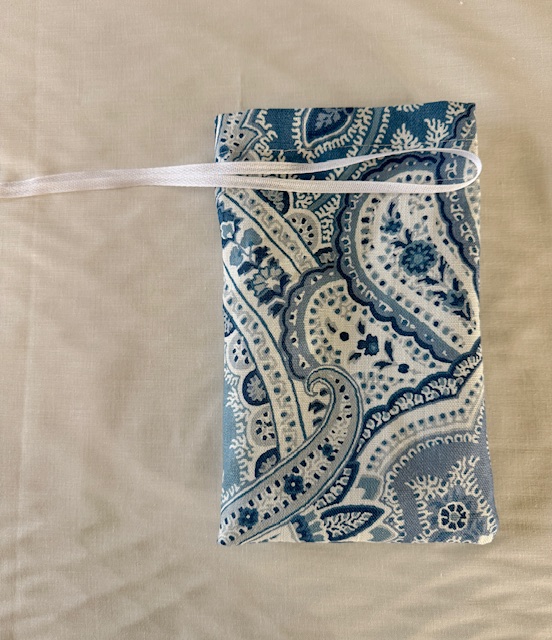
Using a bodkin or safety pin, insert the ribbon into the opening.